

3 ways to edit a LIVE website
Table of Contents Show
Last time, Paige Brunton and I spilled the beans on some of the most common mistakes new web designers make and now I'm back with more juicy tips to help you conquer your website woes.
This time I’m diving into a topic that sends shivers down the spines of many: making live changes to your website. 😳
How… when… what… where… and in what order do you do this??
Fear not, my friends! 🦸🏻♀️😂
Because I've got some tricks up my sleeve to make this process easy breezy. But first…
Before we get started, let me reintroduce myself just in case we haven’t met yet! I'm Katelyn, the brains & brawn behind Launch the Damn Thing. With 17 years in the design game, I'm here to share my Squarespace wisdom and make your web journey a walk in the park. So, let's jump right into it!
3 Methods for editing a published website
Now, let's talk tactics. There are three main ways to tweak your site live, depending on your comfort level.
❶ Mastering the “Cover Page”
The first option? A nifty landing page that cloaks your site, allowing you to work undercover.
This minimalist approach keeps things simple for your viewers because there’s no header, no footer, and maybe no buttons or links to click ––just a sneak peek for eager eyes.
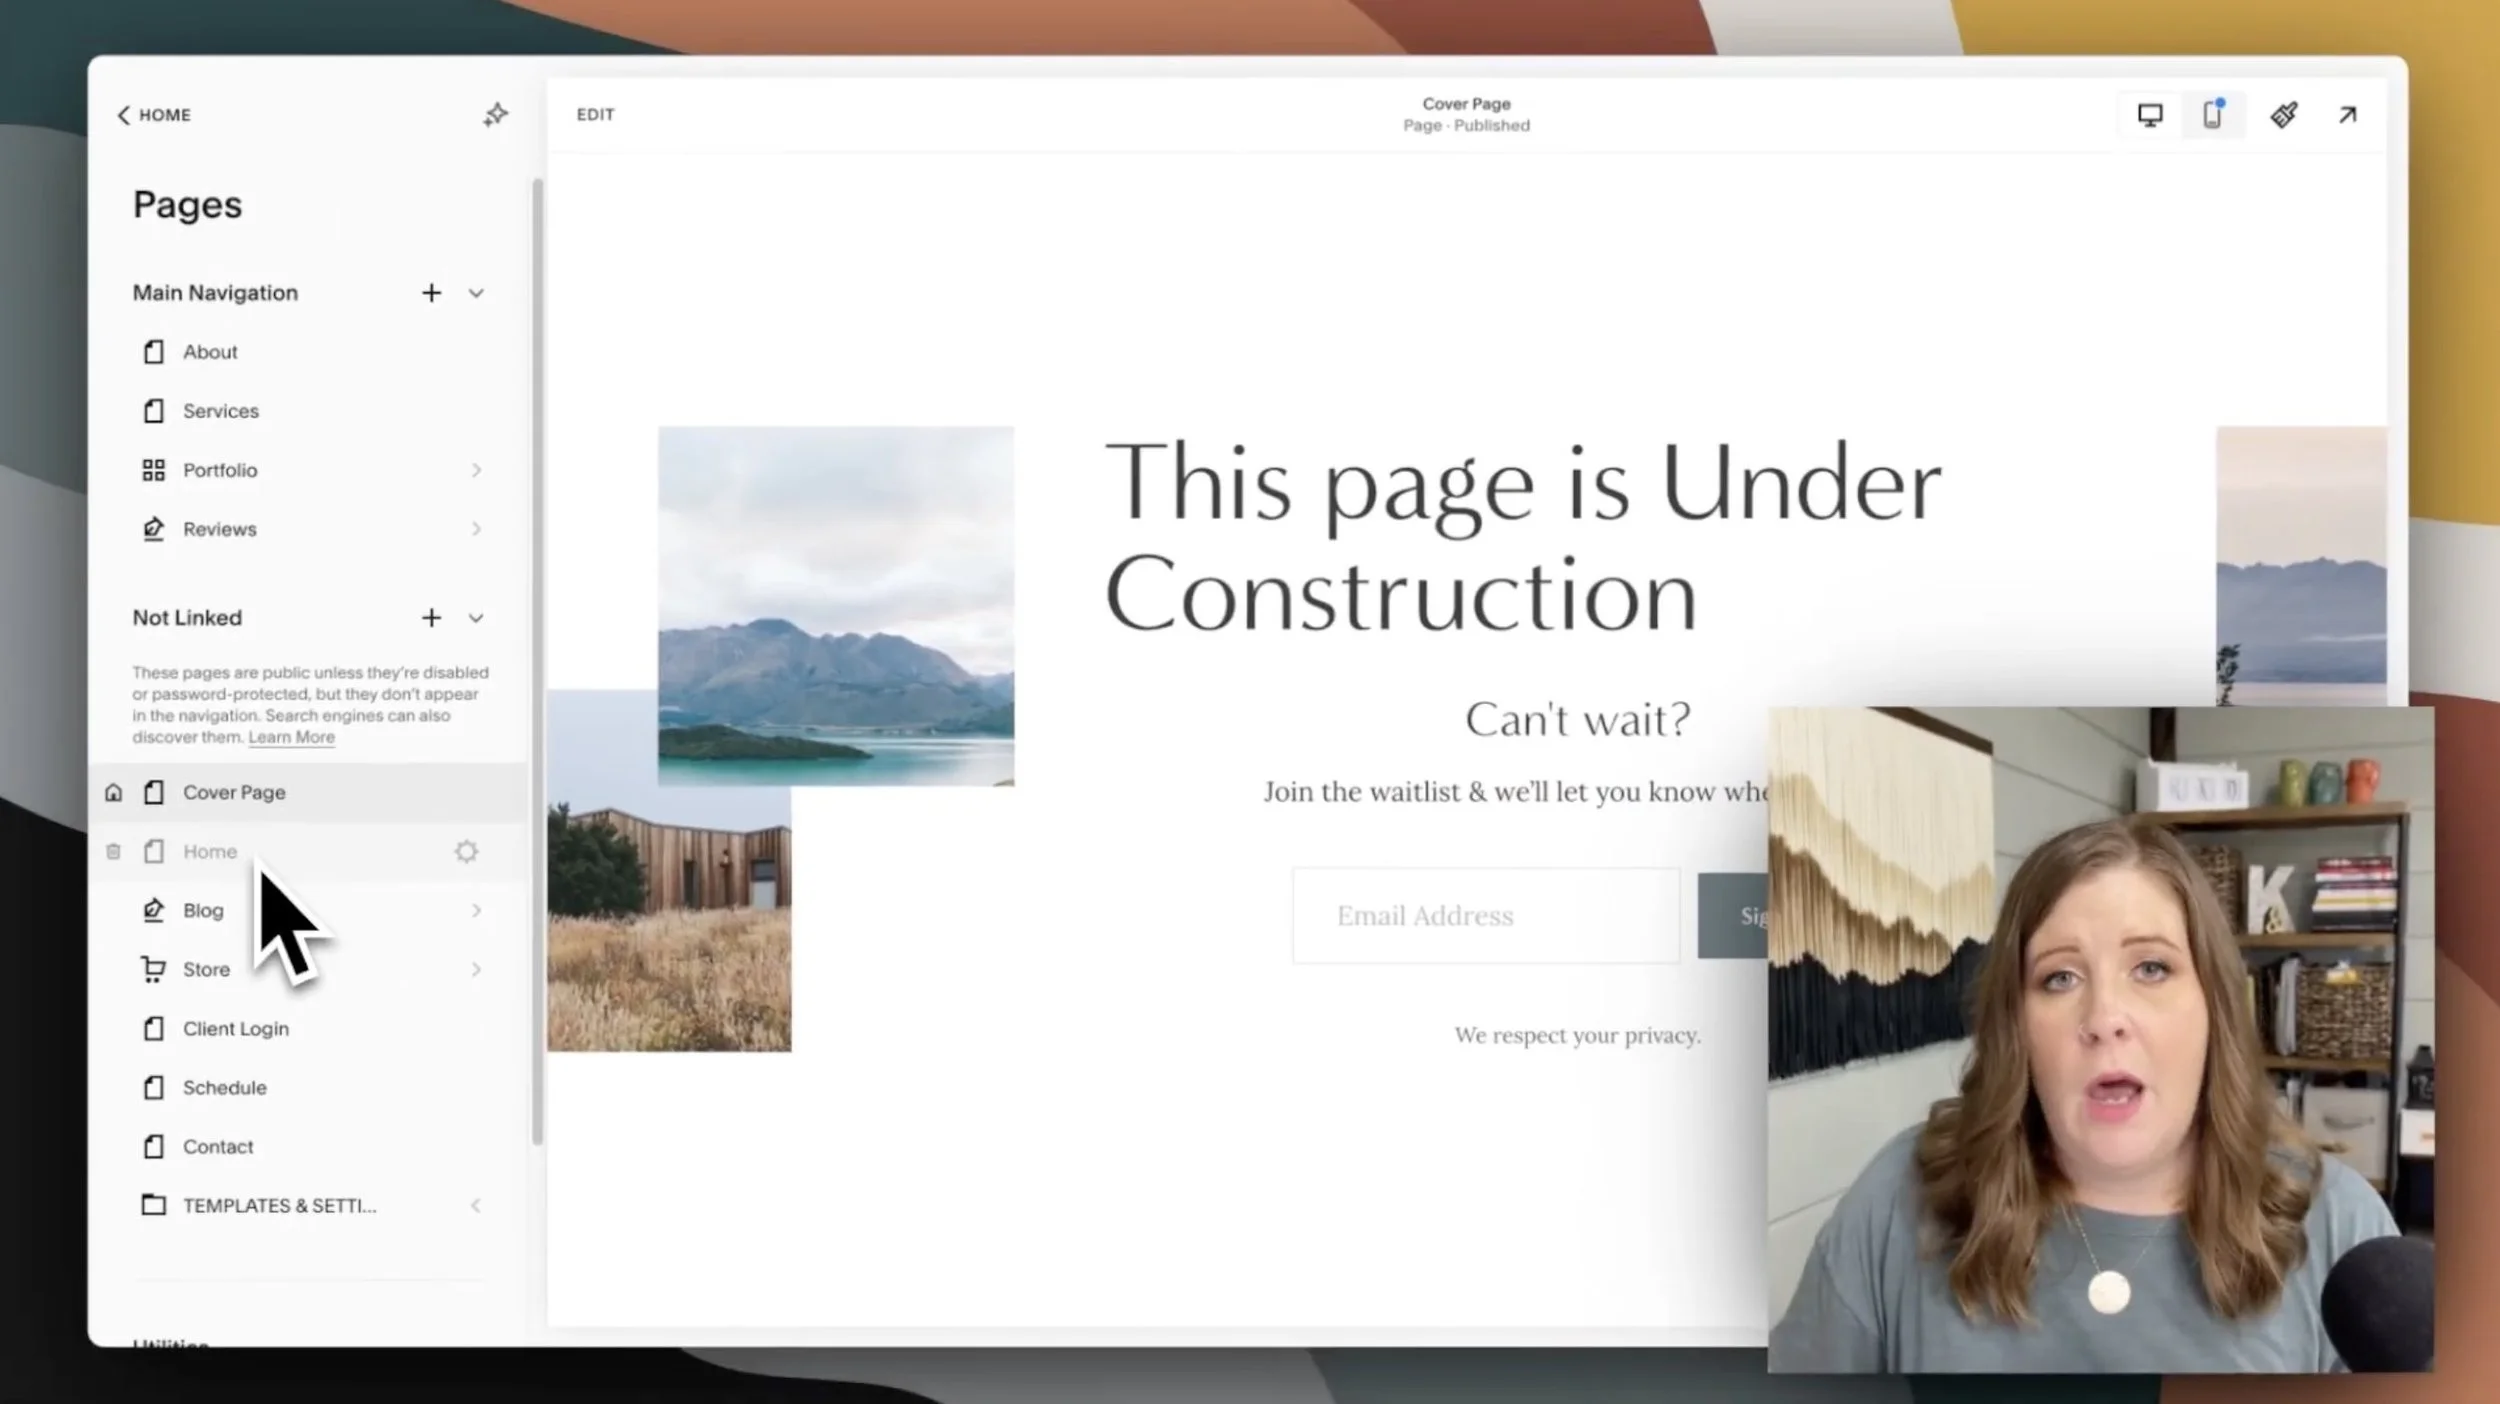
For Squarespace users, here’s how to find the lock screen in the new menu design. You can add a lock screen to your system pages, providing an elegant solution for hiding your website… in plain sight. It's a cinch to set up, and I'll guide you through every click in this part of the video.
Now, if a custom cover page is more your style, I've got a step-by-step guide to help you put that in place too.
After you’ve created your new Cover Page, however detailed you want to make it, open that page’s settings, go to the last tab in the settings menu, Advanced, then paste in the following code snippet to hide both the header & footer on this new Cover Page design.
<style>
  #header, #footer-sections {display: none;}
</style>
And don't worry about the other website page’s pesky URLs - I've got a workaround for that too.
Once the Cover page has no header or footer, you can make it your Home page from the General tab in that page’s settings. Scroll down to the bottom of that section and select the button labeled Set as Homepage, confirm, then Save the change.
Now your actual Home page has been swapped out for the new Cover page, and because we’ve hidden the header & footer ONLY on the Cover page, viewers won’t be able to navigate elsewhere unless they can guess the links to other pages on the site.
So, that leaves one more stone unturned right? Because you probably don’t want people to be able to see ANYthing else outside of the Cover page –just guessing.
If that’s the case, then you can simply open each page’s Settings, stay on the General tab, and turn OFF the green toggle that says Enabled, to unpublish each page individually.
After you’ve disabled all the other pages except the Cover, you’ve officially cloaked the website and you can work on it, more or less undercover.
One caveat: Any stylistic changes you make in Site Styles will affect the Cover page too, so just be aware of that as you make changes elsewhere on the site & keep checking that the Cover page is still presentable while you work.
❷ Make a Copy & Swap It Out

But what if that sounds like too much trouble & your edits aren’t that sweeping (site-wide)?
Easy-peasy!
I'll walk you through the process of just duplicating a single page & swapping it out when you’re ready.
Yes, ––even for collection pages (which can’t be ‘duplicated’ in the same way as regular pages)!
Whether you're revamping a sales page or giving your blog a facelift, this method ensures your changes stay incognito until you're ready to unveil them to the masses. 😉
Copying a single page
To copy a single web page, you’ll open that page’s Settings panel, scroll to the bottom of the General section, and click Duplicate Page. Squarespace will add the duplicate with the word (Copy) at the end of the title and place it in your Not Linked section, so you can tell them apart.
I’d change the Navigation Title to something like “About OLD” and the URL slug to /about-old so you can see which page is the new one and which is the old one from within your Squarespace editor’s pages navigation menu. This WON’T be visible to anyone but you, as long as the pages are both in the Not Linked section.
Since two pages can’t occupy the same URL, the new duplicate will likely be something like /about-1 which you can leave for now.
When you’re done editing the new About page, simply delete the old one (this is why we labeled it before!) and then move the new one into its place in the Main Navigation (or wherever it was before). Don’t forget to adjust the URL slug and remove the -1 so it will have the same URL slug as the original page.
Pro-tips for Collection Pages (blogs, shops, portfolio, events, etc)

Before we move on, you should know that ‘Collection pages’ like blogs, events, courses, shops, and portfolio pages, can be a bit trickier to duplicate (because you literally can’t just duplicate them).
But don't freak out! I've got a workaround in this part of the video that involves creating a new collection & moving things over (faster & easier than you’d think!). With a few clicks, you'll be seamlessly transitioning content from old to new, regardless of that limitation.
Duplicating the Entire Website
For those of you feeling more confident or if you know you need to make more sweeping, site-wide changes, there's an even grander approach. You can duplicate an entire website and edit the draft version until it's perfect, then swap it out with the live site.
Trust me, it's simpler than it sounds! I'll guide you through the basics, step by step.
Quick caveat (& tell me in the comments if I’m wrong!):
I think only Circle Members can duplicate websites, so if you’re following along and you don’t see this option, that’s probably why. You can apply to be a Squarespace Circle Member after you’ve been added to 3 websites; it’s free and ya get a few perks so definitely go check it out!

Go back to your main Squarespace account dashboard where you can see all of the websites in your account. Select the ••• icon on the website and click Duplicate Website to initiate the process. Squarespace will start copying all of the content for you, and in just a few minutes (2-5 minutes or less, on average), you’ll be able to see the new version labeled (Copy) at the end of the site title, in your list of websites.
My preference is to right click on the new copy and the original and open them each in a new tab because you’ll be going back & forth between them for a minute.
On the New/Copied website, you’ll want to upgrade it to a paid subscription plan –yes, a NEW plan. You cannot move your subscription between websites, so if you’re on legacy pricing, you might not have access to that on the new copy.
After that’s done, go back to the old website and search the menu (press / on your keyboard to pull up the menu search) for Domains. Once there, click on the domain you want to move to the new site (one at a time, if you have more than one) and look in the top right corner of the domain settings for a button that says Move Domain. Click that, and in the popup, select the website from the list of websites in your Squarespace account that you want to move it to. Confirm & Save.
Repeat for any additional domains you want to move.
Go back to the New/Copy website, because now it’s time to make it PUBLIC! Search the menu again for Site Availability and select Public, then Save your changes.
(Only sites on a paid subscription can be set to Public! You don’t have to have your domain in there yet, but if you don’t, it’ll publish it to the free domain Squarespace gives you: that’s the weird-ass-link.squarespace.com version).
One last step!
Don’t forget to go BACK to the OLD site and cancel the subscription plan there, or turn off auto-renew ––however you want to handle it–– so you don’t end up paying for both websites.
PRO TIP: If you have a lot of time left on your old subscription, once the new site is live, you can ask Squarespace Support to give you a prorated refund on the remaining balance you haven’t used when you canceled (for annual subscriptions only, I assume).
Despite what their refund policy says, Squarespace has always been happy to refund a customer for their canceled subscription IF they were only moving to a new site, still within Squarespace.
❸ Making Live Changes Fearlessly
Now, let's address the elephant in the room: the fear of making changes… live… without duplicates, or cover pages, or lock screens!
We all want our sites to shine, but sometimes that means taking the plunge so we can JUST DO THE DAMN THING and get it done quickly with less hassle.
I'll share my own experience of editing live and why, in most cases, it's not as nerve-wracking as you might think!
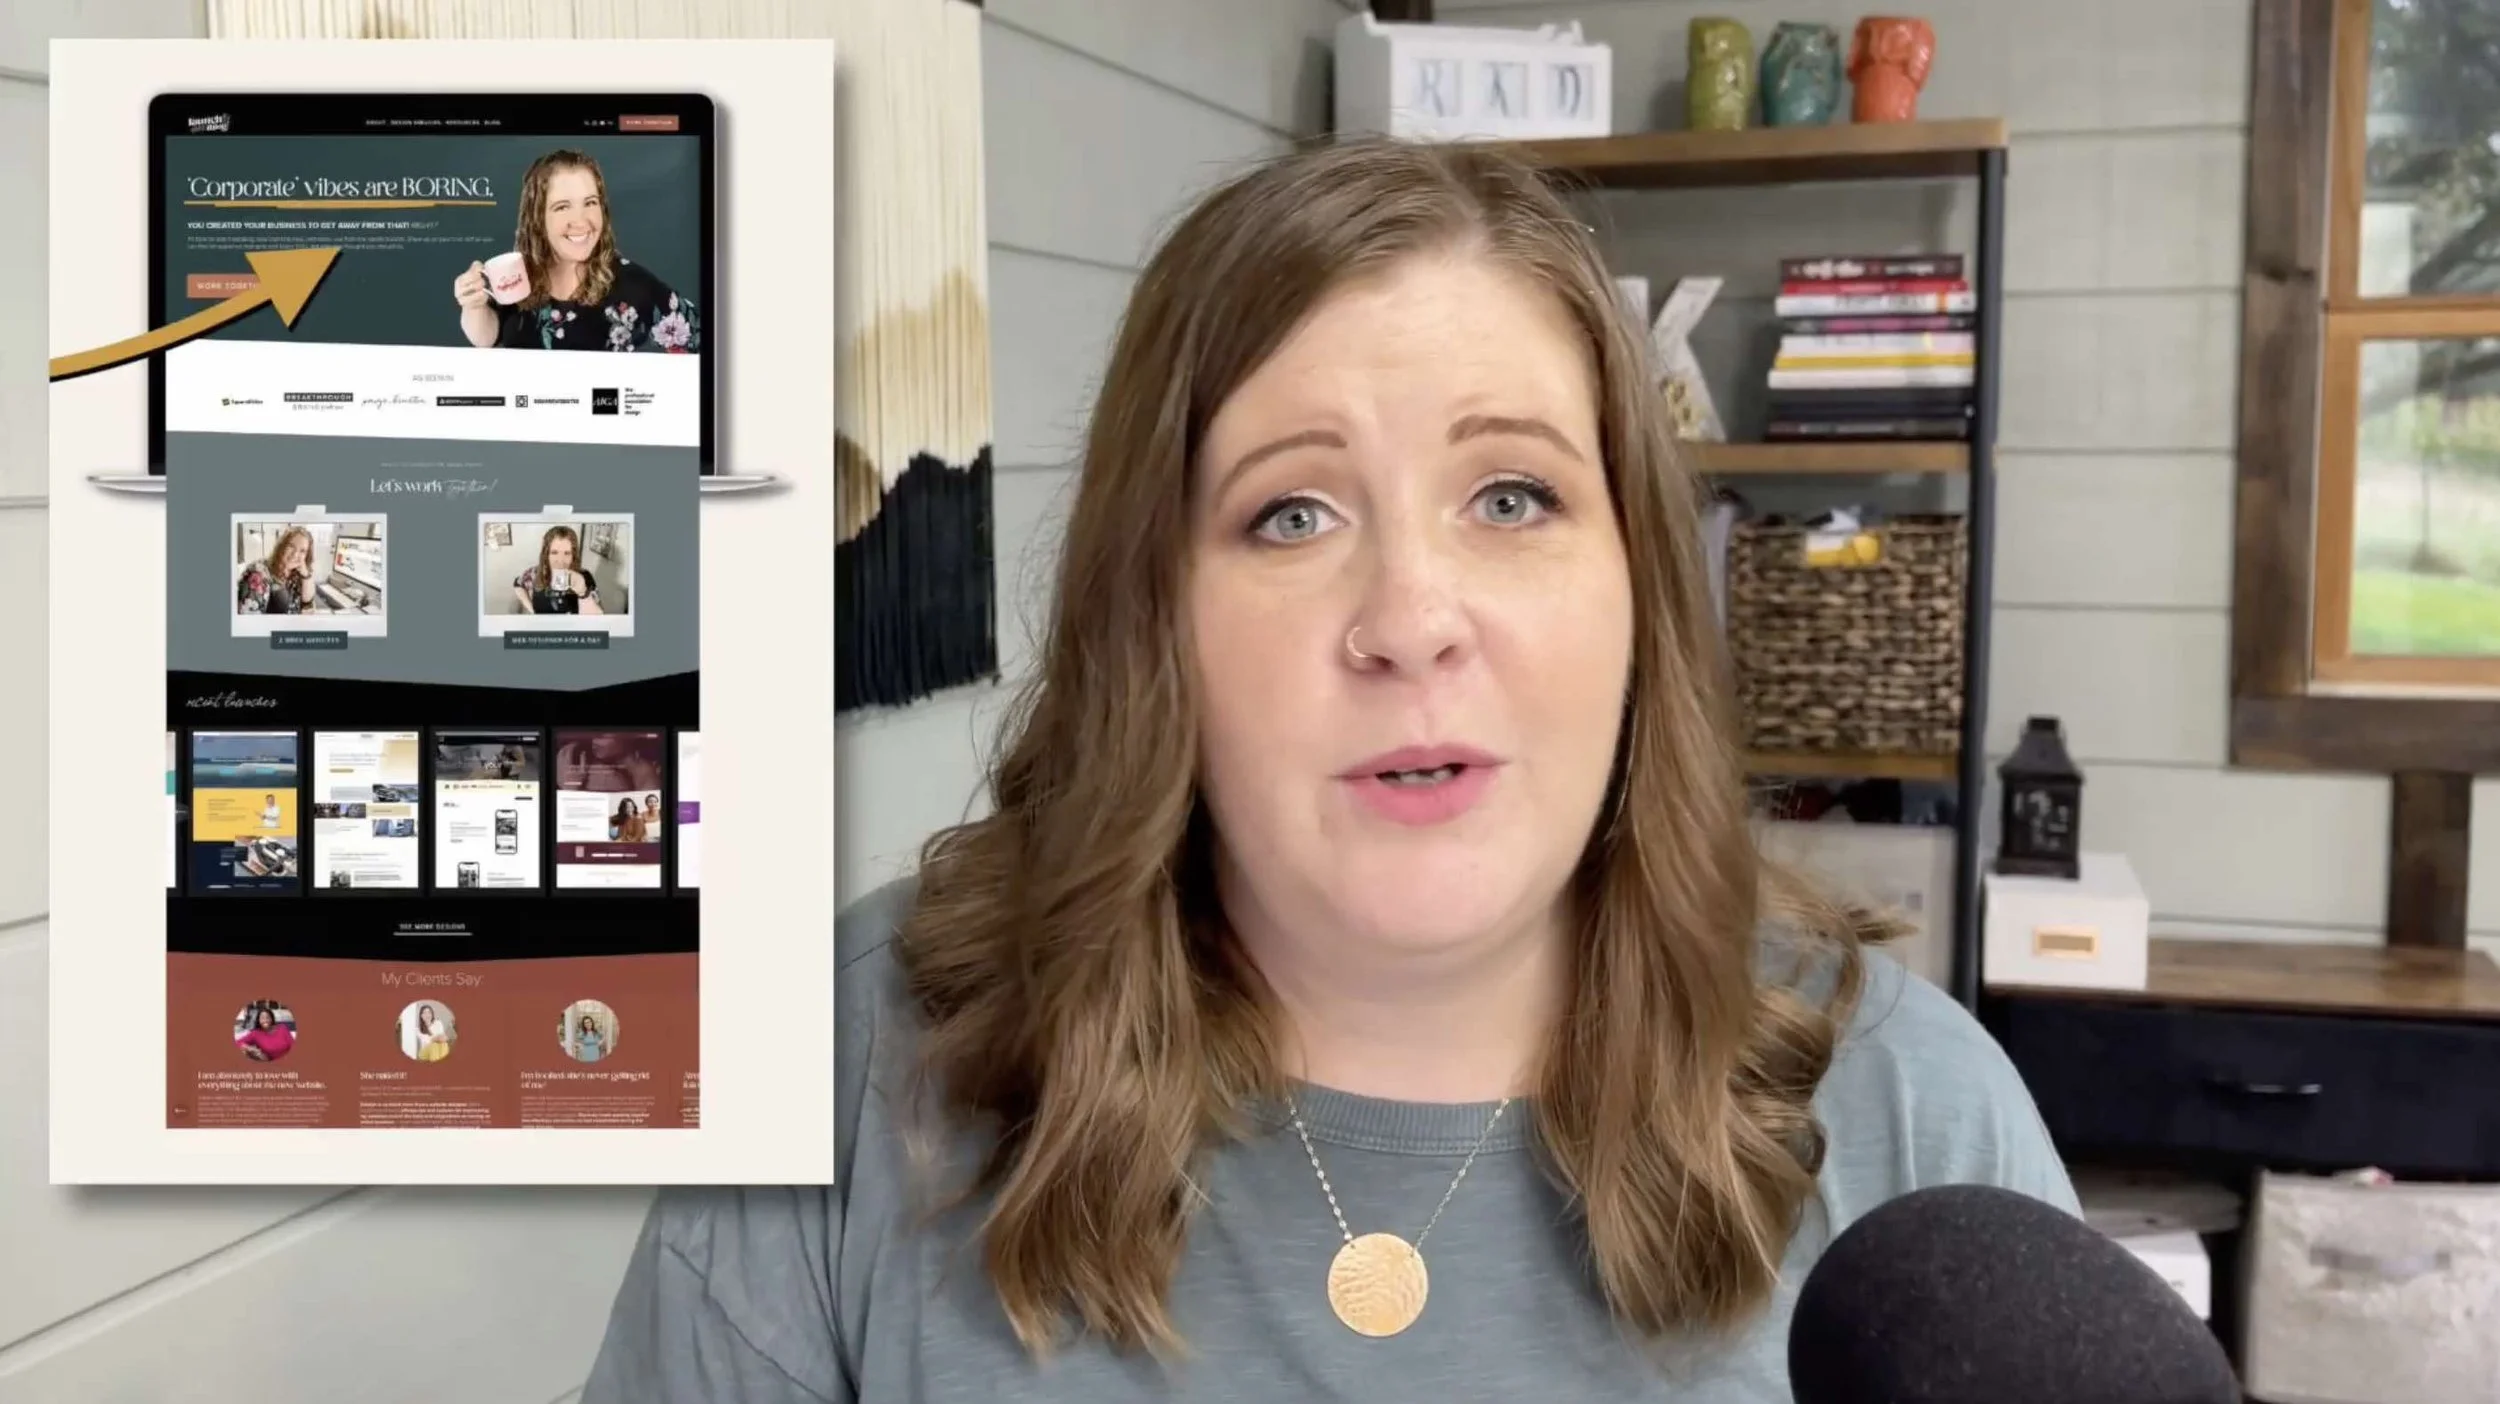
For the past year or so, I’ve hated the way the top ‘hero’ section of my home page looked. 😂 But I haven’t had enough free time to worry about it, until recently. When it came time to finally redesign it, I didn’t make a copy of my home page or throw up a cover, I just dove in & edited the live version, saving changes when I was done.
It would’ve been such a hassle to duplicate the page and edit the copy, then swap it out ––just to change that top section, so editing the live page was the easiest & quickest option for me.

Before – my ugly-ass home page hero section

After – my edited home page hero section
Embrace the Journey
Website change. 🫢 I know, right? Who’da thunk it? 😂
In fact, Google WANTS US to change our websites frequently so it knows they aren’t stagnant black holes of once-relevant information that nobody cares about anymore.
So anything you can do to make that maintenance easier, …well, it’ll make the process easier too!
If you’re afraid to edit the pages live, that’s okay! That’s why I shared the other methods first.
But if imposter syndrome is your arch-nemesis & you’re afraid to edit live because ‘what if someone sees it while I’m editing’ ––I've got a bonus video that'll help shift your perspective. Let's tackle those feelings of inadequacy head-on and give them a new name!
pro tip:
Don't Overthink It!
Now that you're armed with these strategies, it's time to unleash your inner website warrior! Whether you opt for a stealthy cover page, master the art of duplication, or boldly edit live, your website will be in capable hands. 😉
And remember, your audience isn't scrutinizing your every move. No one gives as much of a shit as we do! Promise. 😂
They're here for your content, your message, and your expertise. So, embrace the process, make those changes, and watch your website evolve into something truly spectacular, over time!
So there you have it, fearless DIY-ers! With these tips, you'll be making live changes like a pro in no time. Whether you're donning the cloak of a cover page, mastering duplications, or boldly editing live, your website is in capable hands. Until next time, –keep launching the damn thing!