

Use Trello to Save Your Bookmarks

📌 Pin it!
A few years ago my old laptop was running a little slower than I wanted, so I backed up everything onto an external hard drive, uninstalled & removed all my software, and wiped my computer. Started over, fresh.
It was a lot of work, but that made things so much better. I reinstalled the operating system, put most of my files and software back onto my computer, and I was ready to move on.
I opened my internet browser and realized I had never backed up my bookmarks!! Who would remember to do that? I hope you would, but for whatever reason, I didn't even think about it, even though I tediously went through the entire contents of my laptop to make sure I had everything else, including old emails.
I had a few years worth of bookmarks saved, before I wiped my computer. I frantically logged into my Firefox account, and then Chrome... but they weren't there. I hadn't turned on the native backup so they'd be stored in my account. CRAP.
Months later, after building up important bookmarks again (and this time they are backed up) that major loss of info from before led me to also put my bookmarks in a new location. One that I can access anywhere, any time, from any device.
That's why I chose to use Trello to save my browser bookmarks.
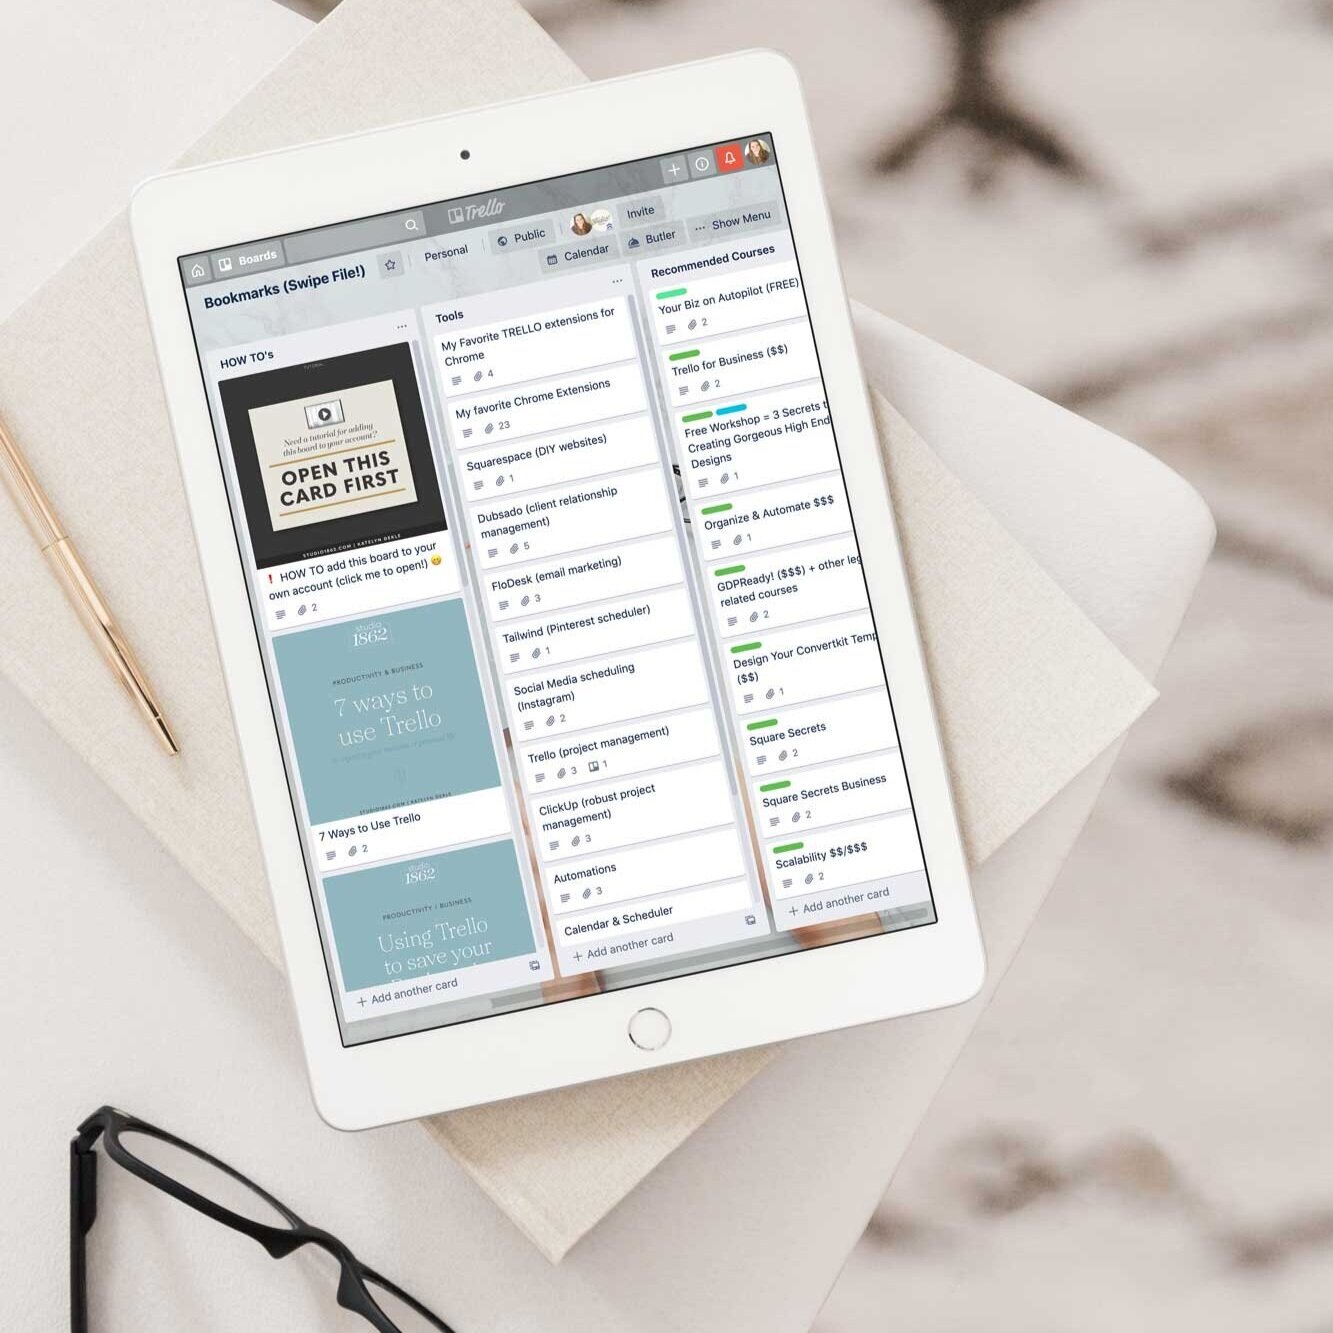
A goldmine of resources,
…all in one place! A list of all my favorite tools, plugin resources, business books & podcasts, stock photo resources and more!
What's the best part about using Trello to store bookmarks?? They're accessible from ANYWHERE.
I don't use Safari much, for a few reasons, but especially while using many of my favorite business tools, and because of that my bookmarks aren't synced across my Apple devices.
BUT, Trello has an app for desktop & mobile! So I can find my bookmarks via the app on my iPhone, iPad, laptop, desktop, or any other computer/device that can download the Trello app or access the internet.
That is great news for me, because I have a TON of info in my Trello boards, that I need to access frequently.
Next, lets dig into how to swipe my bookmarks board, and how to add it to your own board!
How to create your own Bookmarks Board
1) Don't want to start from scratch?
Grab a copy of my board & add to it! Click here to get the link, and copy it to your own account.
If you've already got a Trello account:
Get the link to my Bookmarks board (enter your email address in the signup page, and you'll get an email shortly after with the link inside!).
While logged into your Trello account, click the rust-colored button in the email that says, "Grab the Trello board here >>" or right click and open the link (from my email) in a new tab in your browser.
To copy my board over to your account:
Click "Show Menu" on the far right, near the top
Click "More"
Click "Copy Board"
see the example image
Give the new board copy a title
Change the Privacy setting (if you want)
Where it says, "This board will be Private," click "Change"
Make sure "Keep Cards" is checked!
otherwise the list titles will copy over, but not the cards/contents inside each list!
Click the green "Create" button
Now you have everything from my board!
Trello probably went ahead and opened that newly created board for you, so go ahead and personalize it; change the background, add your own stuff & delete what you don't want/need.
Forgot how to delete a card? Open the card, then click "Share and more..." in the bottom of the right side menu. On the very bottom, there's a "Delete" button. Click that, and it will ask if you're sure, then click the red "Delete" button. If you're afraid to delete, just archive it. That makes it searchable if you ever need it later on, but it won't appear in your board anymore! Archiving is super easy, just press "C" on your keyboard, or click "Archive" in the side menu on the right of the card.


2) Here's how to start your own board from scratch:
If you don't already have a Trello account click here to create your own Free Trello account* or go to their website and create an account.
Once you've created or logged into your own account, your Trello dashboard will be laid out basically like this (but blank with no lists yet & with a different background, obvs):
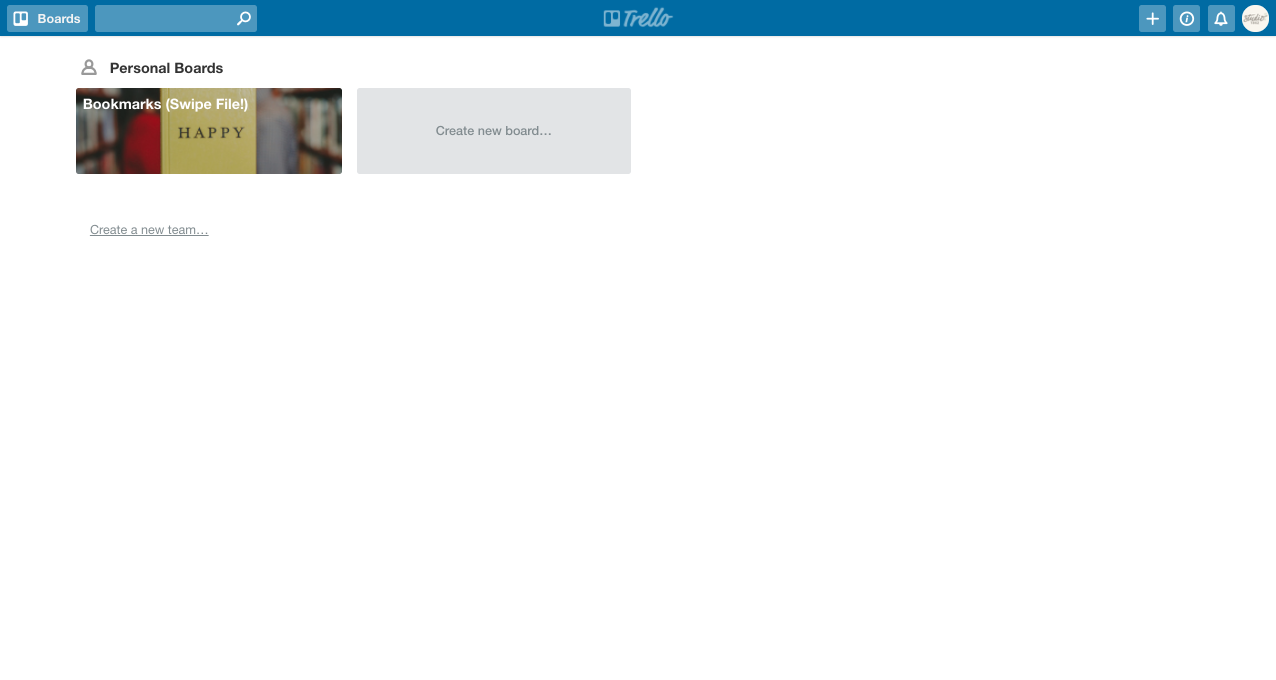
If you click inside the grey box where it says "Create new board" you can start that quick process by giving the board a title, then click "Create Board."
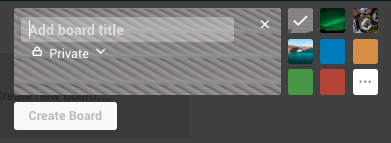
Trello kindly opens the newly created board for you immediately after creating it, so you can start working on it right away.
Trello probably gave you a default background photo, and to change that, you just go to "Show Menu" up near the top on the right, then click "Change Background." From there you can choose a solid color, or search for a free stock image to use. When you're done with that, click the "X" to get rid of the menu window, and go back to working on your board.

Now, this part is all you!
Create lists, based on topics you'd like to bookmark. So for example:
Bills
Entertainment
Blogs / News
Social Media
Wish List!
Now your Board looks something like this:

Now under each list (column), you have a grey "Add a card..." button. Click on that, on any list, to add a card, for as many items as you want. Name the card, then hit Enter on your keyboard to save it and start a new one. If you want to add more detail to the card you just created, then click on that card, to open the full window that shows all the options. (see the next image below to see what options are available inside each card)
Once the card is there, you can click on it and give it a description, a color label, members (subscribes them to changes you make to that card, but they have to be a Trello member like you!), a due date, a checklist, or an attachment.
To attach a URL (link), just copy it from your browser, and paste it while you have that card window open. Or you can also click "Attachment" on the right side menu of the card, then paste it into the area underneath where it says "Attach a link" and after you paste it, you can give the link a name, so that you don't just see the URL there.
So for example, it will show up like this for the URL:
Afterward, to click the link and go to that page, you just click inside the darker grey box that says "LINK" next to the attachment listing you want. To re-name the listing, just click right on top of where it says "Example" (or whatever title you gave it) and you can type a new name there. Hit Enter on your keyboard to save it.
To get out of that card and move on to a new one, just click off of it, somewhere on the background around it, or click the "X" in the top right corner.
If you need a refresh on Trello basics, check out my blog Organize Your Life with Trello here.
That's it!
If you're struggling to think of what to add right now, no sweat! Just keep the board around, and remember to use it next time you find a website page you want to bookmark.
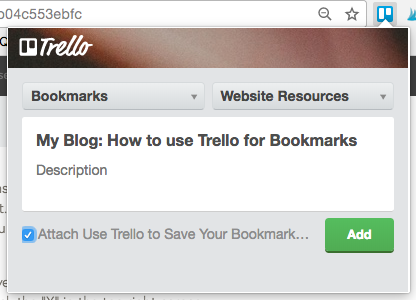
PRO TIP:
Using the Chrome plugin for Trello will make bookmarking from your browser easier & quicker! Once you've added the plugin, all you do is click the Trello icon, choose the board you want from the dropdown on the left, then choose the list from the dropdown on the right, give it a name, click the "Attach...." to attach the URL for that page, then click "Add." Done!
A goldmine of free resources
Recommended courses, tools, stock photo resources, favorite business books & podcasts + more!