4 Quick Tips in Photoshop & Illustrator
I've been using Adobe products for years now (all versions since Ai 10, up to the current Creative Cloud). I learned a lot during college and even more through experience working in the field for the last 10+ years, but these programs are so large and expansive that between their sheer size & the new features they release, I still find I'm learning new things about Adobe’s software!
When you've been using something for a long time and you learn something new and useful about it, it's stupid-exciting; and that's why I'm sharing these tips with you today!
Gotta have someone to share them with! 😄
Table of Contents

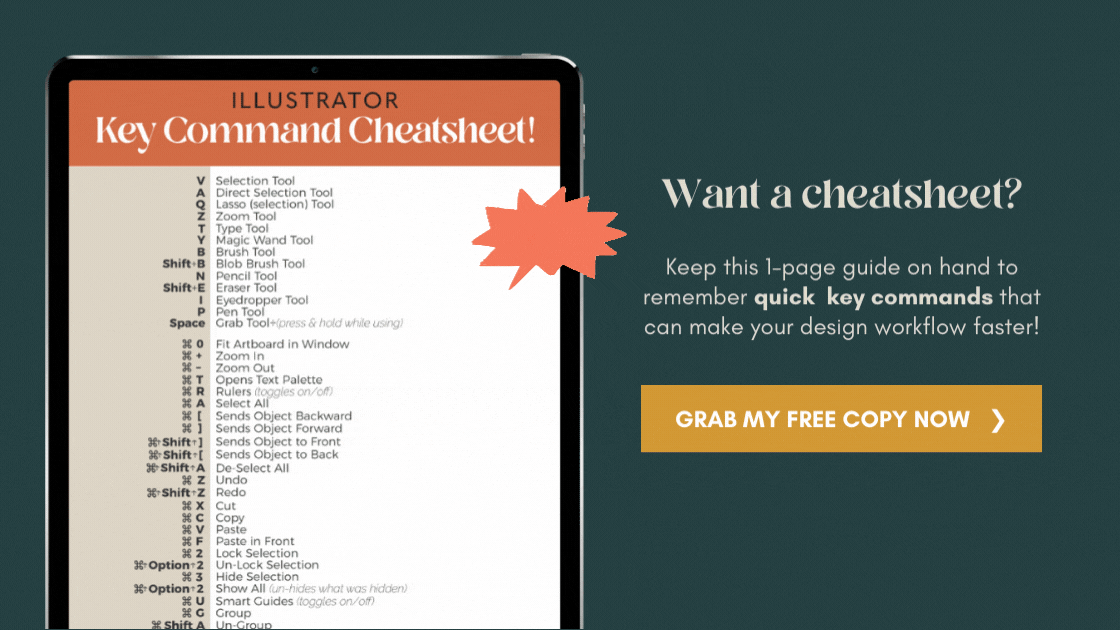
📌 Pin it!
video – 4 hacks you might not know about in Photoshop & Illustrator
READ THROUGH THE STEPS
TIP 1 – Switching Between Multiple Tabs
This really comes in handy during large projects, when you have several documents open at the same time and you need to toggle back and forth between them as you design.
*First of all, you must be using a version of Adobe that allows the use of tabs in your Adobe document windows.
All you have to do is press these 2 keys (refer to the image below) on your keyboard, and each time it toggles to the next tab in line.
TIP 2 – Using Spellcheck In Illustrator & Photoshop
We're all human, and we're all capable of making mistakes. (WHAT?!) ;) So today, in case you missed my previous blog where I mentioned this, I'm showing you how to run Spellcheck in Illustrator (same location in Photoshop). It's super simple!
*Maybe this is obvious, but it only works on editable text boxes. If you've already outlined your text (created paths, converted text to outlines, or rasterized the text layer), I'm afraid the Spellcheck function will not work; it will still run, but it can't check anything that isn't still editable.
You don't have to have anything selected when you do this, it will run spellcheck on everything it can, inside that document.
Go up to Edit < Check Spelling (or press Command + I on your keyboard)
Click Start, on the pop-up window
Then click Done, when you are finished.
You can make changes in that pop-up window, just the same as with most Spellcheck functions in other software (Ignore, Ignore All, Change, Change All, Add).
TIP 3 – Matching Zoom Across Open Documents
This comes in handy when you're editing the same parts of multiple images in Photoshop. In the video, I was editing a particular jacket style for a client's online store. They were offering the jacket in 2 styles, so I had both styles open in separate windows. It's never exactly accurate to zoom in on the same area of both images individually. So, that's when this tip is quite useful!
In the video, I have the images side by side, but it works whether they're in tabs or different windows.
On 1 of the documents, zoom in on the area that you want to see on all of your images
Go up to Window < Arrange < and choose from the following:
Match Zoom (matches the same zoom level, only)
Match Location (matches the same panned location, only)
Match Rotation (matches image rotation, only)
Match All (matches all of the above)
TIP 4 – Rotating Patterns Inside Their Bounding Box
This last tip is most useful (in Illustrator) when you've placed the pattern in the area of the design that you want, you don't want to move it or edit the actual pattern, but you want to change the pattern angle.
You can do this without moving the object's bounding box, by selecting the object with the pattern you want to edit, then:
Double-click the Rotate tool, so you get the pop-up options window
In the pop-up, uncheck Transform Objects
Change the degree you want the pattern to be rotated
Click Ok
Bonus tip
change the pattern size inside the bounding box
One other quick way to edit a pattern is to open your Transform palette, click on the icon for that palette's options pull-down menu, and select Transform Pattern Only.
Now, when you change the size in that Palette, say from 4 inches wide to 8 inches wide, it makes your pattern larger, inside the object's bounding box, but not the bounding box itself.
Just don't forget to change the option back to Transform Object Only (in your Transform palette options), or you'll get real frustrated when you go to resize an object later! ;)
That's all I have for today! As I said, I've been using this software for years, and I'm STILL learning new things about it! Between software updates and hidden gems, I discovered by accident through everyday use, ya really just can't learn it all! So I'm happy to share my favorite finds with you, and I hope they'll be as useful to you as they are to me! :)