

What content do you put on your DIY website??
Table of Contents Show
One of the most common questions I get is related to how do I get good content from my clients? And the answer to that is I give them homework. I teach them how to give me decent content because I don't write the copy, I do not take the images, I do not source the images so I can only build a website that's as good as the homework that they've basically submitted or the content they've submitted to me.
I've done a whole video walking through the whole client portal but today I'm going to show you the just the content guides, and how you can get your hands on that by itself if you're not a designer and you don't need the portal, so you just want the website page guides.
Maybe you're DIY-ing your website and you don't know what to put on the pages? This template is what I actually give to my clients so that I know what to put on their website pages!
So, let's deep dive into what that looks like and then you can decide whether or not the template is right for you, –or maybe this post is enough to get your brain going & you won’t even need the template!
What’s inside the Website Content Guides & Worksheets?
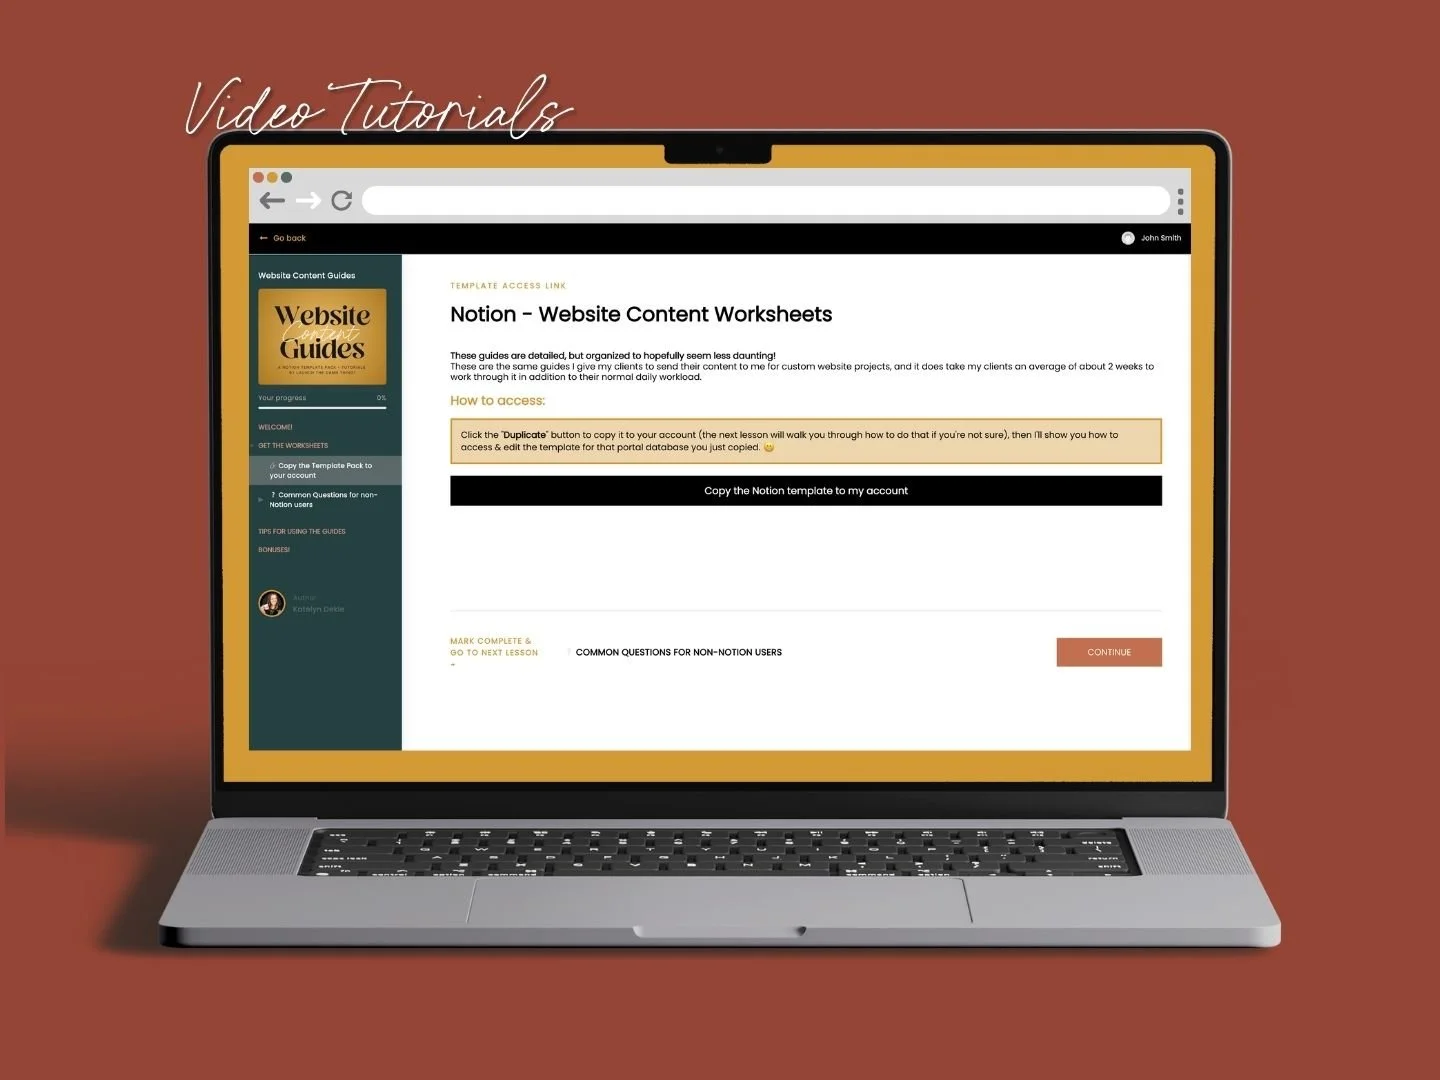
This is the template as you would see it after purchase, and this is what your copy would look like before you duplicate it to your account. You'll see a little copy button up in the top right corner.
And yes, you will have to copy it into Notion if you actually want to use it as a worksheet. Otherwise, you're welcome to just open everything like I’m doing now, and just follow along, writing your answers down in something else (Google Docs, Word, etc).
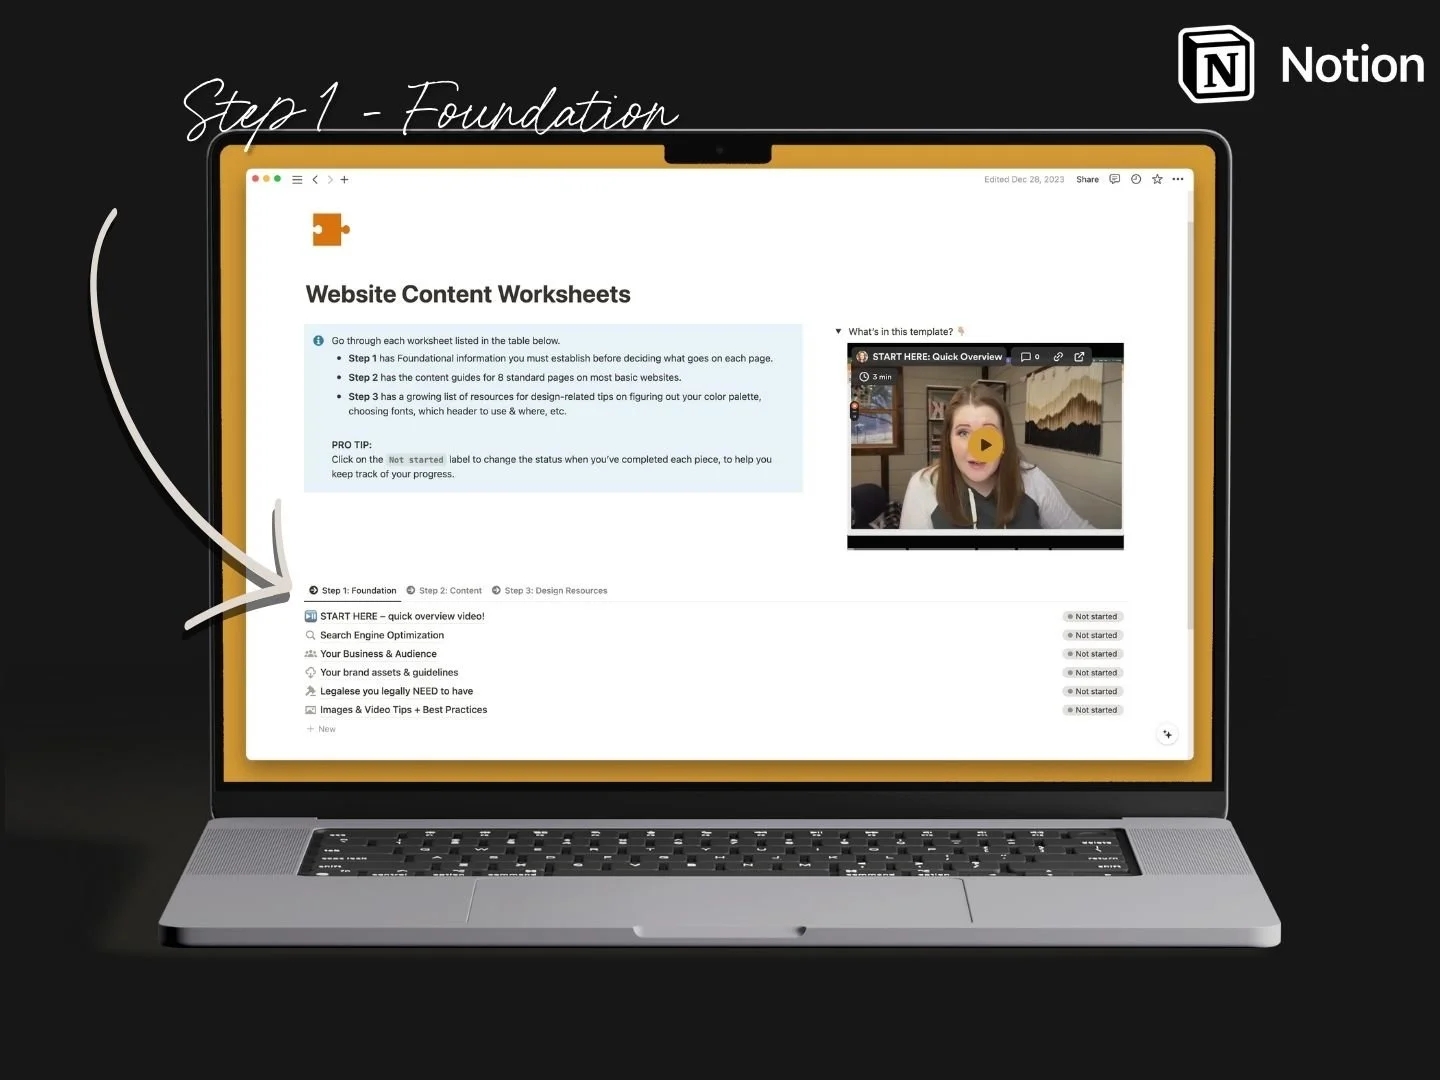
Step ❶ – Foundational Elements:
SEO, Business, Branding, Image & Video Optimization, Website Legalese, & Accessibility Resources
First, we have step one, which is the setting foundational content of your website. This is the basic SEO stuff, the basic business and audience stuff, collecting your brand assets (that's your fonts, your colors, those kinds of things), going over the legalese that you need to have for your website, and basic video and image best practices.
These worksheets will help you pinpoint foundational ideas, concepts, assets, and resources to get the page-by-page content guides done in step 2.
Basically, ya need to know this shit first and get it kind of solid before you move into the content guides in the next step!
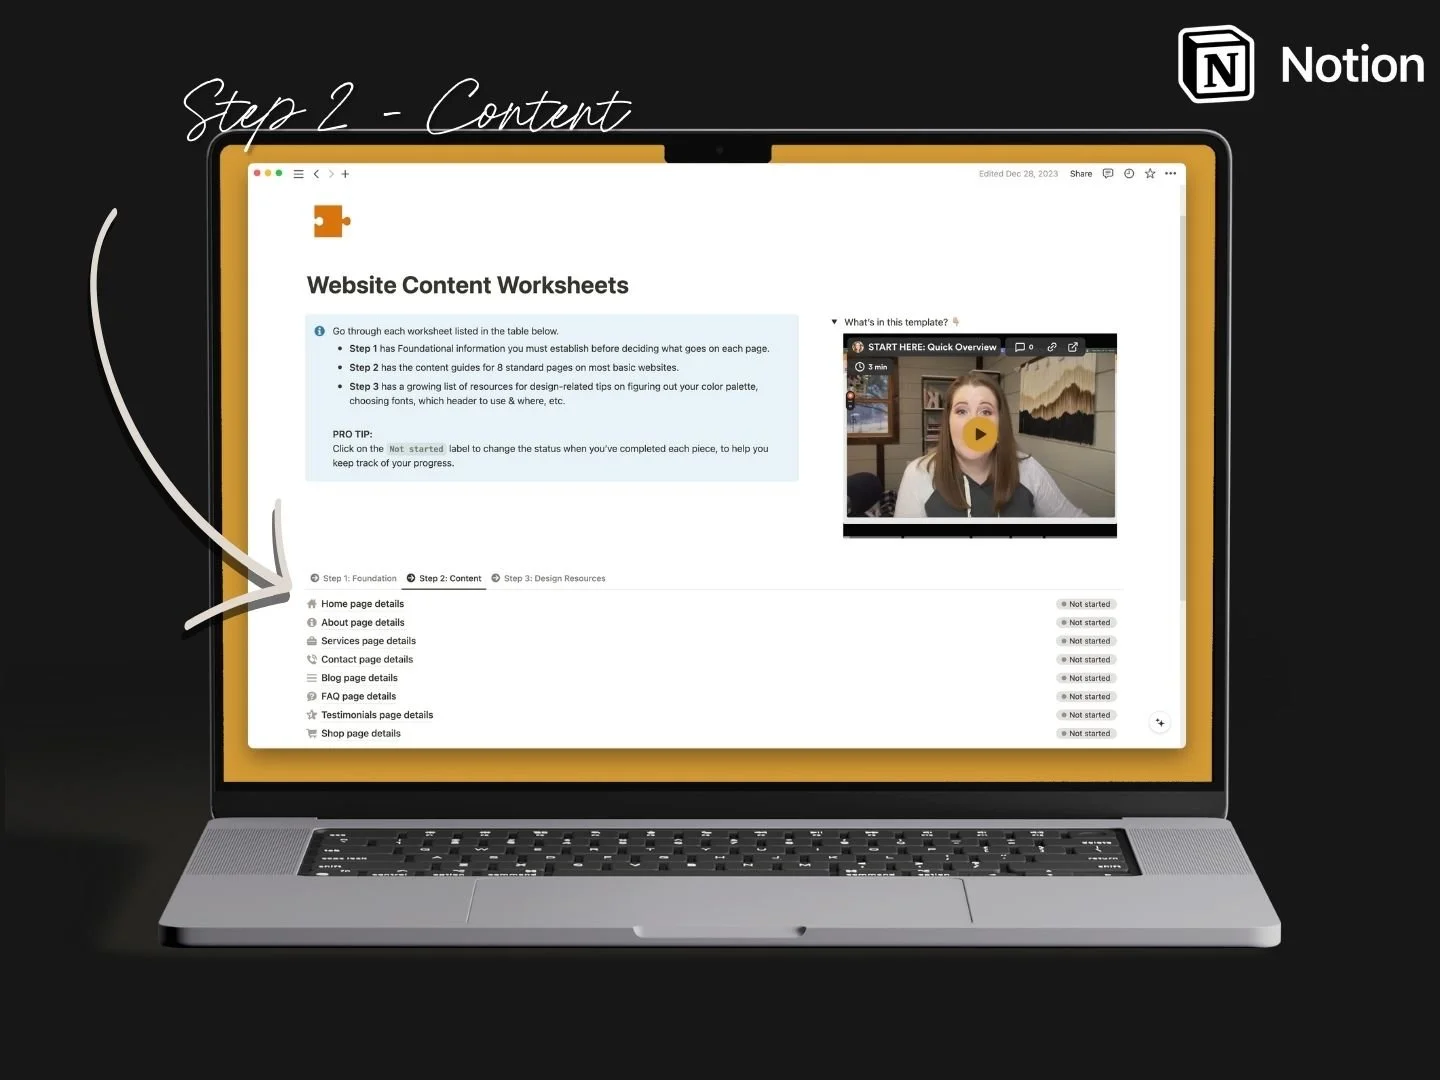
Step ❷ – Website Page Worksheets:
What to Put on Your Website's Main Pages
In step 2, there are worksheets for all the website’s main page types. These are worksheets for pages that most websites have or need, but you don’t have to use them all.
Some of the worksheets further down are for larger websites &/or more established businesses, like Blog, FAQ, Testimonials, and Shop pages. Not every website's going to need all of these guides or pages on their site, but putting it in here because they’re the most common.
Step ❸ – Design Resources:
Videos, Blog posts, Tools & more
In step 3, the design resources shares information on understanding heading hierarchy, some resources for choosing fonts and colors, a free template to build your user journey at Squarespace, even my go-to choices for learning how to use Squarespace’s platform (for DIY or to become a web designer yourself), and a few other tips and tricks to help you design that content you just worked so hard on in steps 1 and 2.
This is actually something I do not give my clients, at least not when they’re submitting homework for our project, because I'm doing their design so they don't really need this stuff.
But for you, if you're buying these guides and not as part of the whole portal system, then you probably want to know some of my best tips for how to design that content on the pages.

Inside the DIY Website Page Content Guides & Tutorials
First, there’s a basic overview of what's in here in a short intro video, or text you can skim through. Then the ‘database’ is underneath & that lists or contains all the worksheets as sub-pages to keep things organized!
As you go through these worksheets, there's also a status for each one, so you can update the status as you go, once you've added it to your account, to in progress or done and kind of check things off to help you track your progress.
First, on all of these worksheets you'll find a handy table of contents toggle in the top right corner to show it or tuck it away. Click on any of the anchor links inside it and it’ll whisk you straight to that section on the page. Underneath the table of contents, there's also a unique video breaking down what's inside each worksheet. Feel free to watch it if you're interested, or skip it and dive right in.
I've designed all of these worksheets to clearly indicate where you need to fill in information (labeling each of these as “Action Steps”), so you can easily see where there are questions to answer and fields to fill in, as opposed to where I'm just providing you with a bit of education before you begin the work. The goal was to make this feel less overwhelming, because I understand there's a lot to take in!
Also, all of the worksheets in Step 2, except for the home page, will have a unique SEO section for the back-end SEO bits for each particular page.
The homepage won't need it because it uses the site-wide SEO details (decided/planned in the SEO worksheet in Step 1) including, the title and the description, and the social sharing page, which is the preview image that comes up when you share a website link online in some places.
All the other pages won't be using the site-wide title and description though, so they need their own details. Each of those remaining page worksheets will start with the basic SEO details: page title, description & preview image for that page.
In those areas, I also tell you what SEOSpace* recommends for the character count in SEO titles & descriptions, because it's a lot lower than you think, but that makes it optimized for mobile users on search engines like Google.
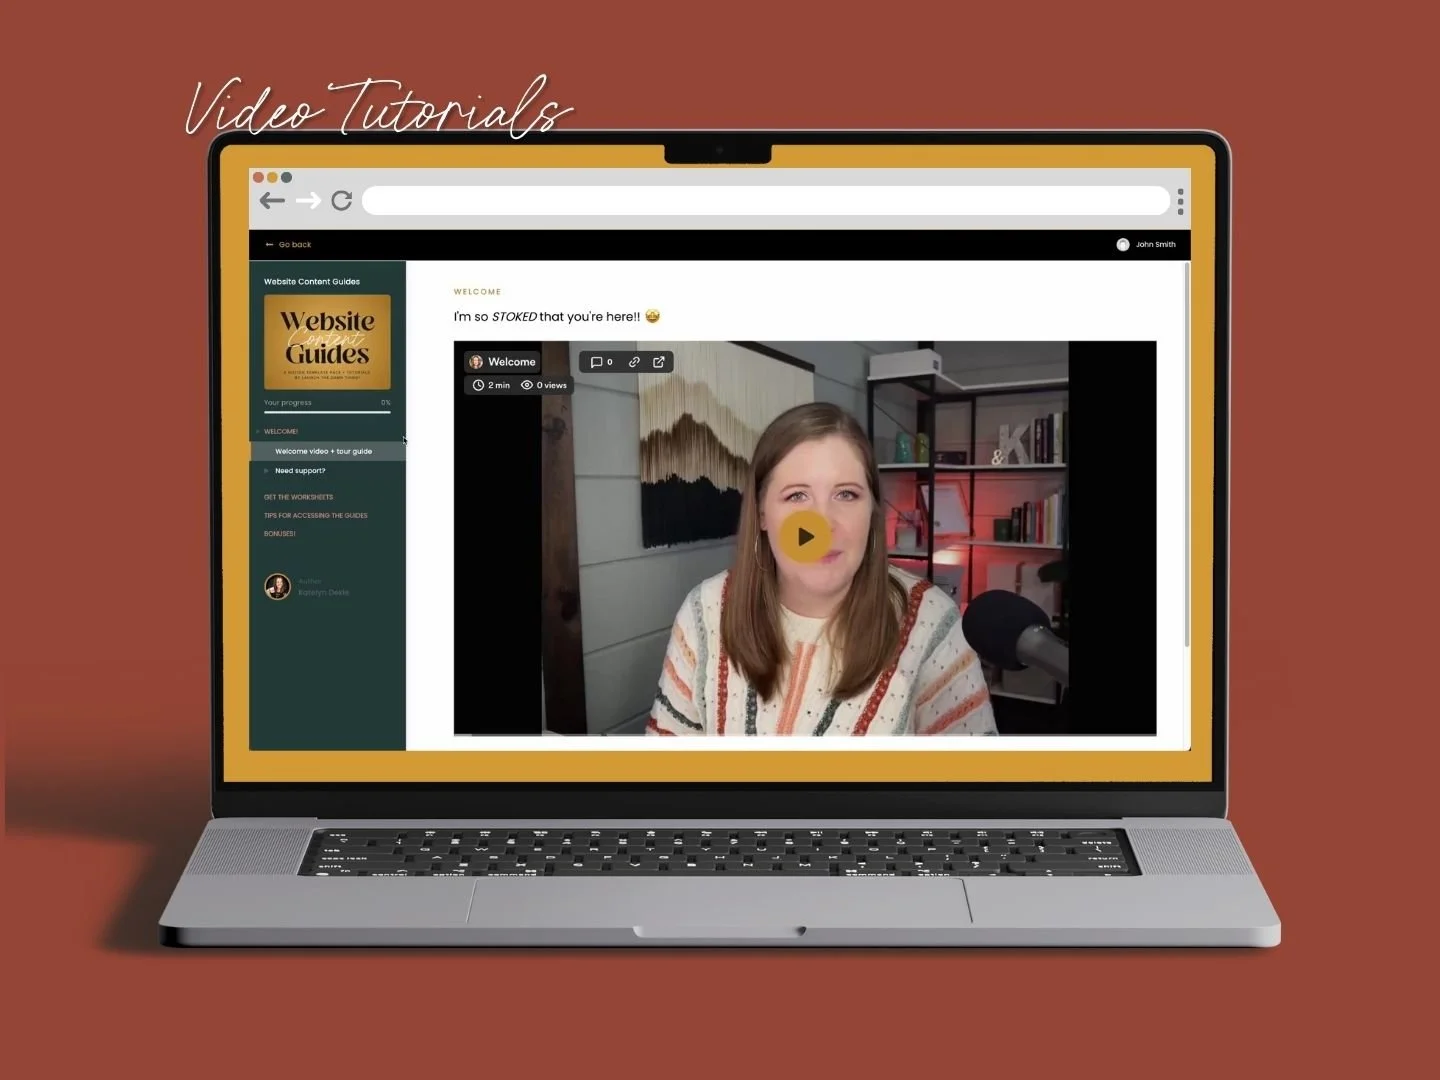
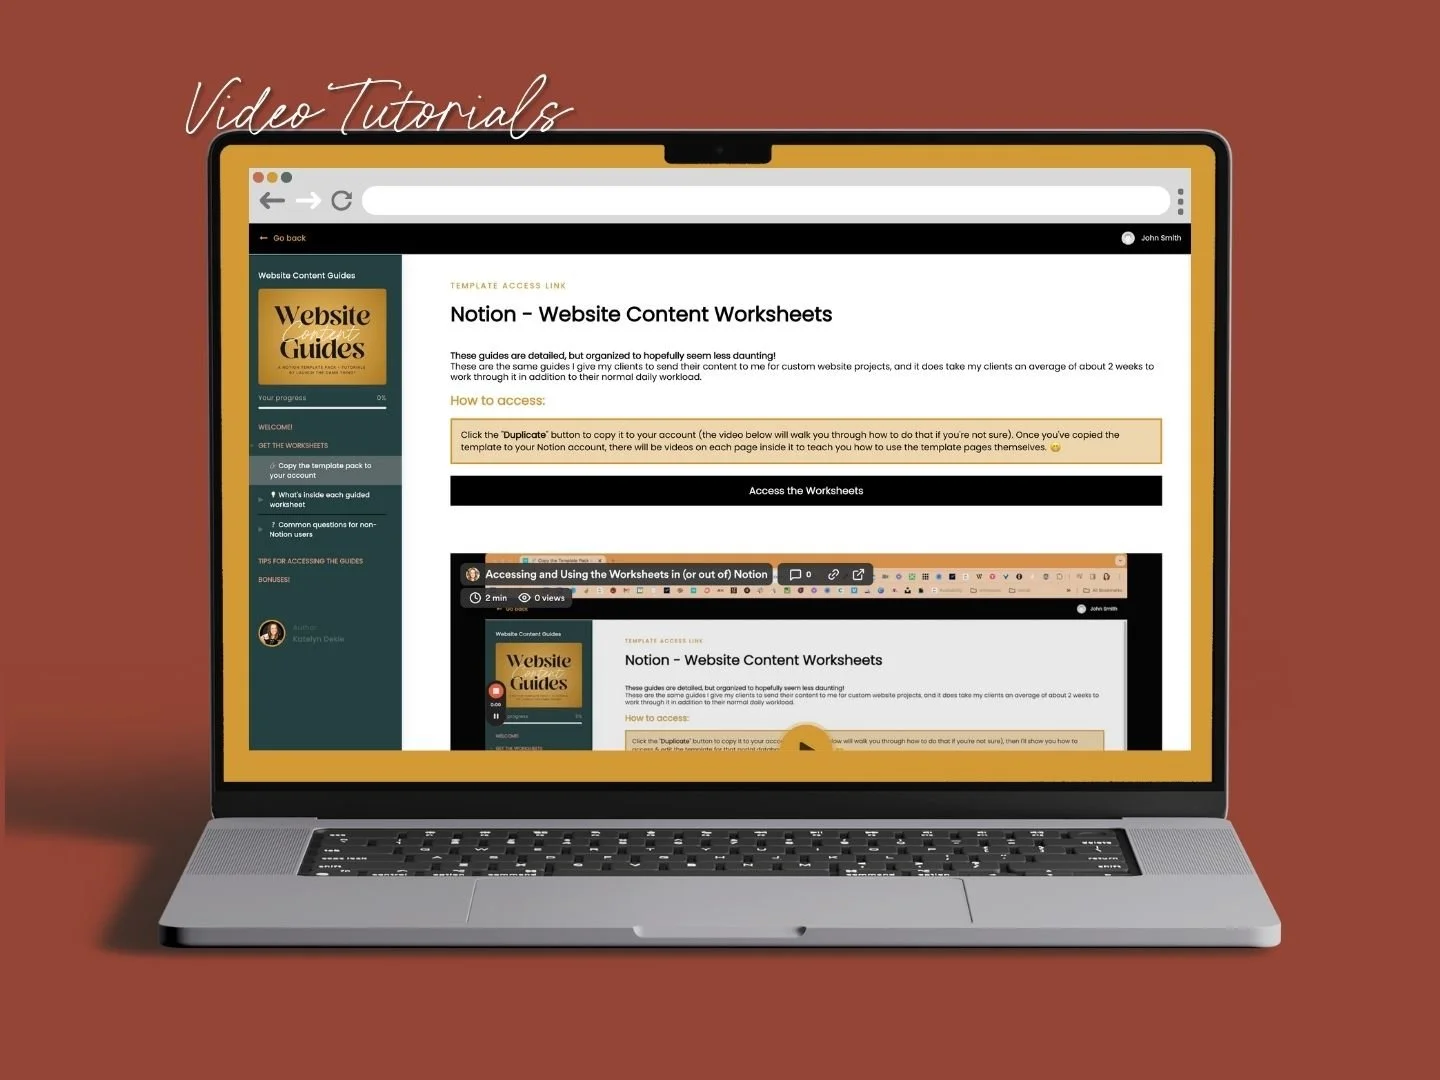
Video Tutorials
Did I mention that there’s also a mini-course style library of tutorials to walk you through accessing the guides, copying them to your account a round-up of DIY-focused website tips & tricks? Oops! 😬 Well, there is. 😂
Search Engine Optimization Worksheet
Let’s dive into the SEO Engine optimization checklist, because it's packed with resources!
The first part of this worksheet answers some of the most common questions I hear, not just from clients, but also from other students in various communities. These are my thoughts on the topic - not from an expert SEO standpoint, but just my two cents as a designer with years of experience.
I've also shared links to some fantastic resources from SEOSpace*, including their free workshops to help you with keyword research & more. I shared a bunch of the workshop links in my private Freeloader group, so you can grab all the links from that (linked in the SEO worksheet).
Further down, you'll find the actual questions that make this a worksheet. This is your chance to roll up your sleeves, grab a HUGE cup of coffee, do the research, type in your answers/data, and fill it all out.
I highly recommend checking out SEOSpace* if you need help with this part; it's my go-to tool for all things SEO on Squarespace, and its by far the most DIY-friendly & affordable option out there!
You'll also find a slew of other tools and resources, direct links to those, some important notes about using the Google Ads Keyword Planner tool for free, and how to apply basic research action steps for site-wide SEO. Plus, there's a spot to jot down your keyword competitors and what to put on your custom Error 404 page.
Business & Audience Worksheet
The next worksheet is all about understanding your business and audience, before you start focusing, creating & editing the content. Why? You need a focus in order to have relevant content for your audience –and in order to do that, you need to know who your audience is!
In this worksheet, we'll cover surface-level concepts for finding. your ideal client. Although we won't dive too deep (because that’s a whole course worth of info by itself!), there are a few handy tips for you to consider. We'll also work on building your brand statement, which is also referred to as your “Unique Seller Proposition” or “Elevator Pitch” among other phrasing. This helps YOU articulate what you do in a way that makes sense to other people looking for help with whatever you offer/sell, because while we understand our own business it's not always as clear to others.
Brand Styles & Assets
This worksheet includes a basic checklist that mirrors the folder system I ask my clients to use when they’re submitting logo files, fonts, colors, etc.
For example, when I work with someone who already has an established brand and we're not doing a brand refresh, I'll ask them if they have brand guidelines, a brand board, branded graphics or icons, and specific fonts or colors they want me to use on the website. If so, they need to provide those files before I begin designing the site. I've expanded on this in a few places with toggles under checkboxes for clarification where I expect it may be needed.
Then just go through, checking off the list as you get your shit together and you’ll have a nice round up of assets ready to be optimized in the last guide in Step 1!
Website Legalese Guide
Now let's chat about the legal stuff. First, I'm not a lawyer so this is NOT legal advice, but I've picked up some pointers from legal pros I follow, have purchased templates from, & have hired, so this guide will still be useful for most of you, especially if you're running a business in the US.
First off, I tackle some common legal FAQ's about these policies so you understand what they are & why they’re required or recommended. Ever wondered why we need a privacy policy or terms and conditions? Or why there are so many options for terms and conditions? This is where I've shared some resources to help you get these crucial legal policies for your site.
Remember, I'm not a legal expert in any capacity, but what I'm sharing with you is based on the wisdom I've absorbed from various legal workshops I've attended, and experts I follow, like Paige Hulse of the Creative Law Shop. Think of this guide like a friendly parrot sitting on your shoulder and repeating this useful stuff so you don't have to attend all those workshops! 😂
Image & Video Optimization & Best Practices Guide
Once we're done with the legal bits, it’s time to talk about gathering –and optimizing– images, graphics, and videos for your website, because this is a HUGE part of what makes a website interesting!
Whether you're using Squarespace or another website builder, you've got to optimize your files before you upload them. They have to be small enough so they don't slow down your webpage’s loading times & Squarespace isn’t known for the fastest page load speeds anyway! So this step is crucial for Squarespace users, –and frankly for anyone on any web builder too, because page load speeds can always be improved.
Trust me when I say, the file size limit (for faster page loads) is probably a lot smaller than you'd expect! So, I'll give you a quick rundown on what file sizes mean & which ones to use, what resolution means & how to optimize your images, and what common image sizes are for different parts of your website (like banners vs inline images in your page layouts).
I’ll also share basics recommendations for how to name your files so they're easy to find in the asset library, more accessible, and maybe even boost your SEO value by including key words or phrases in the file names!
I’ll share some best practices on how to reduce that file size before you add it to your web builder (ie: file optimization for web), and this applies to videos too, so I’ll share some of the free & paid tools I use to edit, optimize, write alt text for you, and even where to host videos.
So, that’s the basic groundwork –now we move into the page guides.
Home Page Worksheet
Let's start with the homepage!
–Actually, while this is first in the list (because you’ll expect it to be) this is the hardest page to work on if you haven’t already done the rest of the guides FIRST.
So here’s a pro tip: start with the About page, work through everything else you need first, then come BACK to the home page when you’re done with that.
On the Home page, you can practice using a more click bait-y version of your shiny new elevator pitch, which you started developing in the foundational steps.
Then there’s sections to chat about your services, your latest content, your testimonials, and maybe some reviews &/or other ‘social proof.’ You can even include a mini bio and grow your email list with a relevant must-have freebie.
See what I mean by that sounding hard if you haven’t already done that work (services, bio, collected reviews, etc) first? If you’re nodding your head, skip this worksheet for now and come back to it later!
About Page Worksheet
Next up is a worksheet that's all about you (& your business)! It's designed to highlight your unique personality and make talking about yourself anything but boring.
Trust me, I steer clear from those dull, generic 'About Us' and ‘Meet the Owner’ pages. Who on earth enjoys reading those???
If you're here hanging out with me, I bet it's because you know the importance of personality in branding… and you actually want your website to… well, have one! 😂 (A personality, that is.)
So, this page is designed to help you showcase your personality & how it might be to work with or buy from your business. It's basically the same structure & questions that help me create the 'About' pages I design for my clients.
I've included a basic strategy, along with some examples along the way, to help your viewers get to know your personal side & what makes you, you. Then, you’ll clarify who’s a fit for whatever you offer and who isn’t.
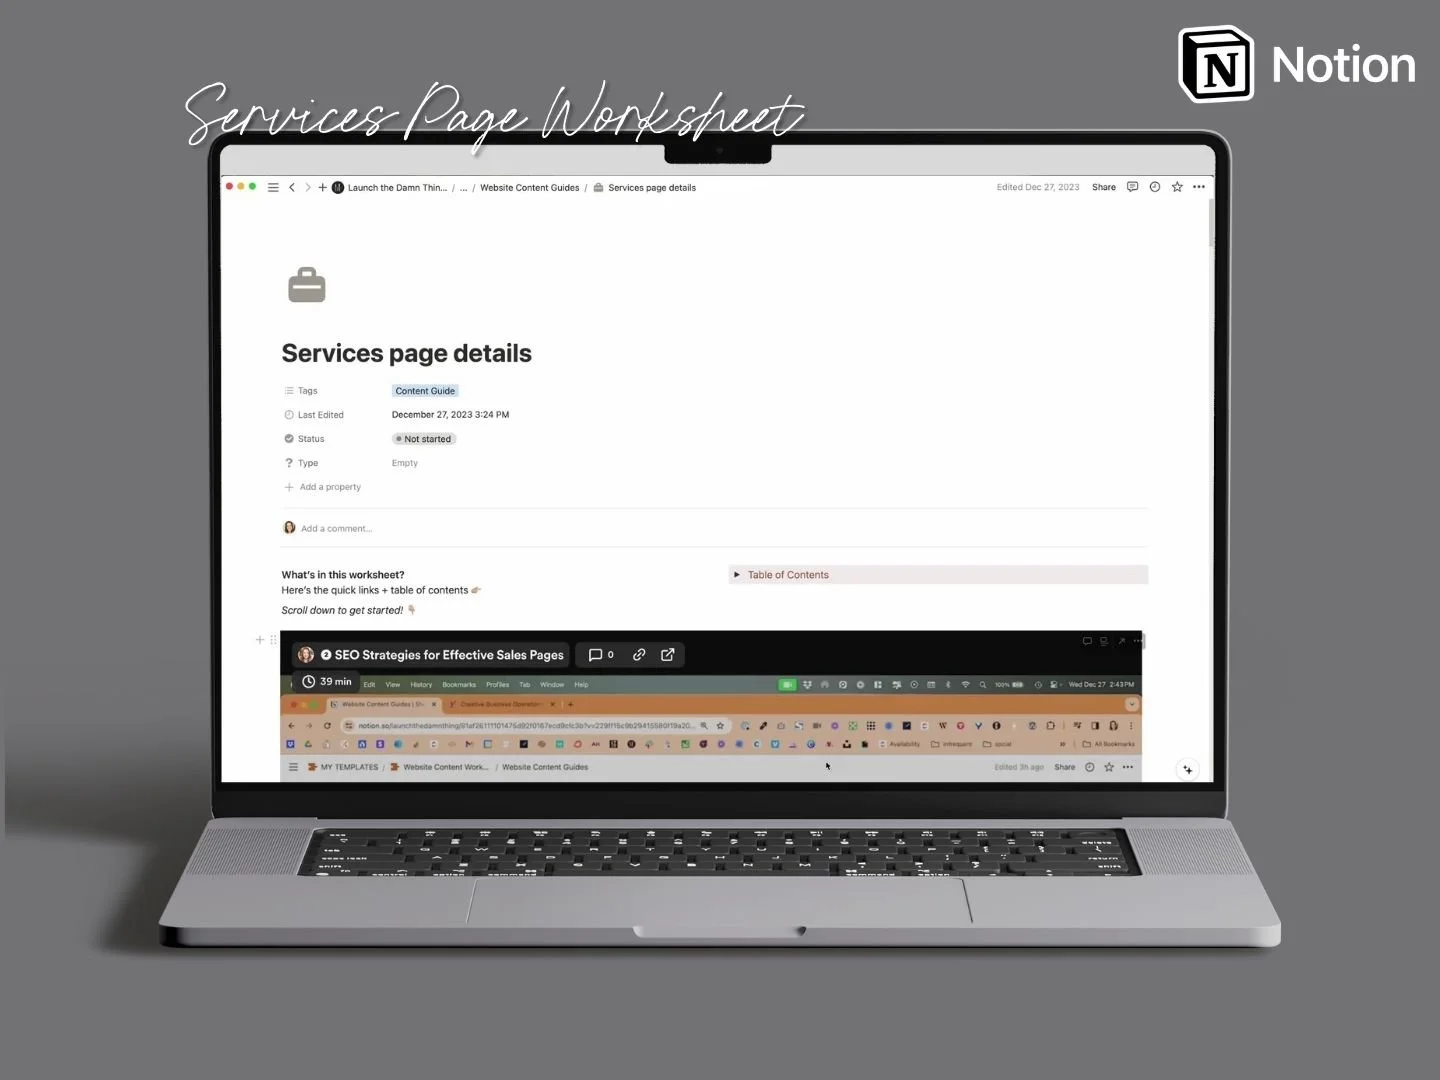
preview of the Services page worksheet template in Notion
Services Page Worksheet
Now it’s time to write the content that goes on your services (basic sales) page! This worksheet is all about the strategy behind walking your viewer through the different stages of making a purchase decision.
The goal? To build a basic sales page that can guide people through making that decision: is this the right product/service for them?
First, ya need to hook 'em with statement that piques their interest. Then, we need to show them some social proof so they can build some trust with you. Next, we address their problems, struggles, and objections.
Here's the kicker: I guide you through 8 or 9 different sections to help you relate to their struggles, share why you want to help, that you understand their problem, you know how to approach it, and you know how to solve it.
Then, we'll help them overcome any objections they might have - like the price or uncertainty for whether that product/service will work for them. Because let's be real. Whenever we decide to buy anything, there's always going to be a little voice in the back of our head going, “…but do you REALLY need that??” or “yeah, but how will that work for ME??”
Next, there's a section for you to set up the basic info on your product prices or service packages, –whatever that looks like for you.
Keep in mind, while this is a designed for a services sales page (so it's focused on someone who provides services, not necessarily products), but you can tweak it to fit if you sell products too! In fact, I use this same basic strategy on my template sales pages. 😉 In case you want to see a real-life example for how it all comes together!
Next up, you to set expectation and answer questions like,
what's this going to look like?
what am I going to get?
how does this process work?
Throughout the page I’ll remind you to add basic call-to-actions or CTAs, where you basically give the viewer an opportunity to buy from anywhere on the page when they’re ready, without having to look for the mysterious buy button. Basically, that’s like saying, "if you're with me on this, and ready to purchase, you can do that right here! … Or right here! … Or right here!" –You get the point.
After the expectations are set, there's a place for you to add reviews (and a reminder that you should really sprinkle these like literal sprinkles throughout the page, wherever you have reviews relevant to a particular section’s topic, such as a client that specifically mentioned their problem or a customer who was glad they decided to buy & shares why.
At the end, there’s a spot for FAQs related to the product or service you’re selling on this page, and finally, a reminder to add one more CTA at the bottom.
And that's the services page! It's probably the longest worksheet in this template, but it’s gotta be if it’s going to “do the selling” for you.
Contact Page Worksheet
Next up is the contact page, which is all about making an actual connection, right? So, what's your headline going to say that might encourage people to reach out? What about your main description? And how/what information do you want to share so they can contact you? What public info are you comfortable putting “out there?”
Now, for best practices. Anywhere I can, I'm going to nudge you to add a picture of yourself. No matter how introverted you are, it's crucial that people can see a real person runs this business, and that if they reach out, they will get a real human being (not an AI bot) that responds.
People are curious! They want to know who they're reaching out to, because that can help give them confidence that they’re making the right choice.
You'll also have a spot to share all your social media links, with a handy quick-copy button for all those fields.
Last, we need to talk about your contact or inquiry form. What should you include? How many questions are too many, –or too few? Don't worry, I've got a video and a blog post ready to guide you through that. It's all part of this template, giving you a good starting point!
Blog Page Worksheet
Next up, we'll dive into the world of blogging or content marketing. Now, this might be somewhat controversial and is totally my own personal perspective, but hear me out! Blogging and YouTube are the best marketing strategies and here's why: every blog post you write is like that best friend that always recommends awesome books/movies to add to your to-read/watch shelf. Like your shelf of recommendations from that friend, your evergreen (always relevant) content never stops working for you, bringing you website traffic, and giving your site authority on your topic.
In other words, content keeps adding value, like a snowball that just grows and grows and grows. The best part? It doesn't have an expiration date & algorithms don’t toss it out when its deemed no longer interesting to new viewers.
Blogging & YouTube are the main marketing engine for my business, so I’m a GINORMOUS believer in their power, because that’s what has always worked best for me ––and I love creating content.
Of course, if you're not a fan of writing or the thought of being on video makes you break out in hives, then content marketing might not be your cup of tea. But if you're open to it, this is a great starting point that will 100% give you a return on your time-investment, and it’s totally free, if ya already have your website in place.
With all that said, this section will provide a solid overview of blogging - from handling categories and tags to a bunch of other stuff. And don't worry, I've sprinkled in plenty of links throughout to share more tips and tricks that I've picked up along the way!
FAQs Page Worksheet
The next worksheet is the FAQ page and this is the place for you to brain dump all the questions and answers you can think of that potential clients/customers may be asking or want to ask but are too lazy to do so. 😂 I also explain in here WHY I think it’s important that you have this page, and how it helps you save time (both yours & your potential client’s/customer’s).
I’ve included a basic spreadsheet so once you’ve filled it out, you'll be able to select and quickly copy/paste each question & answer into your website when the time comes.
The spreadsheet also gives you a place to decide to which pages you want that particular question to show up. So if you have a different set of FAQs for different pages, you can note that here, easily!
Testimonials Page Worksheet
Next up, let's take a look at the testimonials page. Here, I've laid out a super straightforward spreadsheet where you can keep track of all the key details from your testimonials, including spaces to jot down the name of the person who left the review, their job title, and their actual comment, and other details if relevant.
I've also included spots to check whether you've got their permission to proofread the comment (ya know, just to tidy up any typos or punctuation errors), whether they've sent you a photo to use, and if they've recorded a video testimonial.
Plus, there's a handy area for you to upload those images and videos you receive for each one & store them IN Notion if you want, as a backup. There’s even a place to note which pages you want each testimonial to be featured on, if applicable.
Now, this might feel like overkill, ––and that's okay! Feel free to just use whatever parts are most relevant to you.
And if you're curious how I go about collecting reviews, I’m also sharing a couple short tips about that, and how to structure these on your website with the least amount of maintenance effort, longterm.
Shop Page Worksheet
Last but not least, let's dive into the Shop page (& then take a nap!)
I'll be the first to admit that e-commerce isn't really “my thing” so I don't often create those types of websites; they have so many moving parts & frankly they can often be a lot less fun to setup.
But for this worksheet, I pulled out all the stops and created an in-depth inventory spreadsheet for collecting all of your product information ––including the less obvious stuff you didn’t know you needed to know. 😂
This inventory spreadsheet is split into several tabs. The "All Products" tab shows, well, all your products. Then there are tabs for Digital, Physical, and Service-based products which are all filtered to show ONLY those products, so you can work in a silo if you want to & focus on each type.
I've also included a tab that only shows Product Links. This tab is more of a reference or single source of truth for the links to each product, that will be filled out as you add all your products. All you need to do is enter your shop URL slug for each product as you go, and the spreadsheet will automatically generate the full product URL, using that + the product title. This makes it super easy to quickly grab the URL for any product, no matter which web builder you're using!
Now, the information you need to fill out for each product varies depending on its type. For instance, Physical Products require shipping, so you'll need to fill out extra fields for the product's weight, width, height, and depth in order to get carrier calculated shipping at checkout for your customers.
On the other hand, Digital Products & Service Products won't need shipping, so you can skip all that for those.
Either way, all the fields are still there for any product, when you need them. You can click on any product to open it’s sub-page details and show ALL of the properties, then fill in any additional information where needed.
In short, this spreadsheet has everything you need to manage your e-commerce inventory in Squarespace, so you won’t be skipping steps when you add new products to the shop!
Additional Resources
So that's the gist of the template! I genuinely hope this walkthrough helped you decide whether or not it could be helpful for you with your DIY website.
If you're struggling to figure out what to put on your website's pages, grab the Notion template here. You can choose to use it in there or not, but I've designed it to be easiest to use in Notion.
Remember, Notion has one of the best free plans available! This means you don't have to dish out extra cash to use these worksheets to help you create the content you need for each page, figure out where to place what, and organize it all with some basic sales strategies.
Now, if you're a web designer and you've liked what you've just seen but need/want the whole portal, I also have the whole portal system available, which is also in Notion, and it includes these guides! So, if you want the whole shebang, —from task management, project management, message board, and all that jazz—you can grab the portal template from my shop or learn more about the portal template in this post first.
That way, you could make the content-gathering part of your projects easy and just hand these worksheets over to your clients, saving you the trouble of creating them yourself. Trust me, these worksheets are the result of YEARS of refining questions and figuring out what I need to learn from clients, ––not to mention figuring out how the hell to actually get them to do the work. A whole lot of blood, sweat, and tears went into this portal system, and if it’s the right fit for you, I think it’ll be a game changer for you!
But if you're a DIYer, you're in the right place because I've got tons of other tips for you to check out too! Some of which, I’ve listed below this post! 👇🏼
