

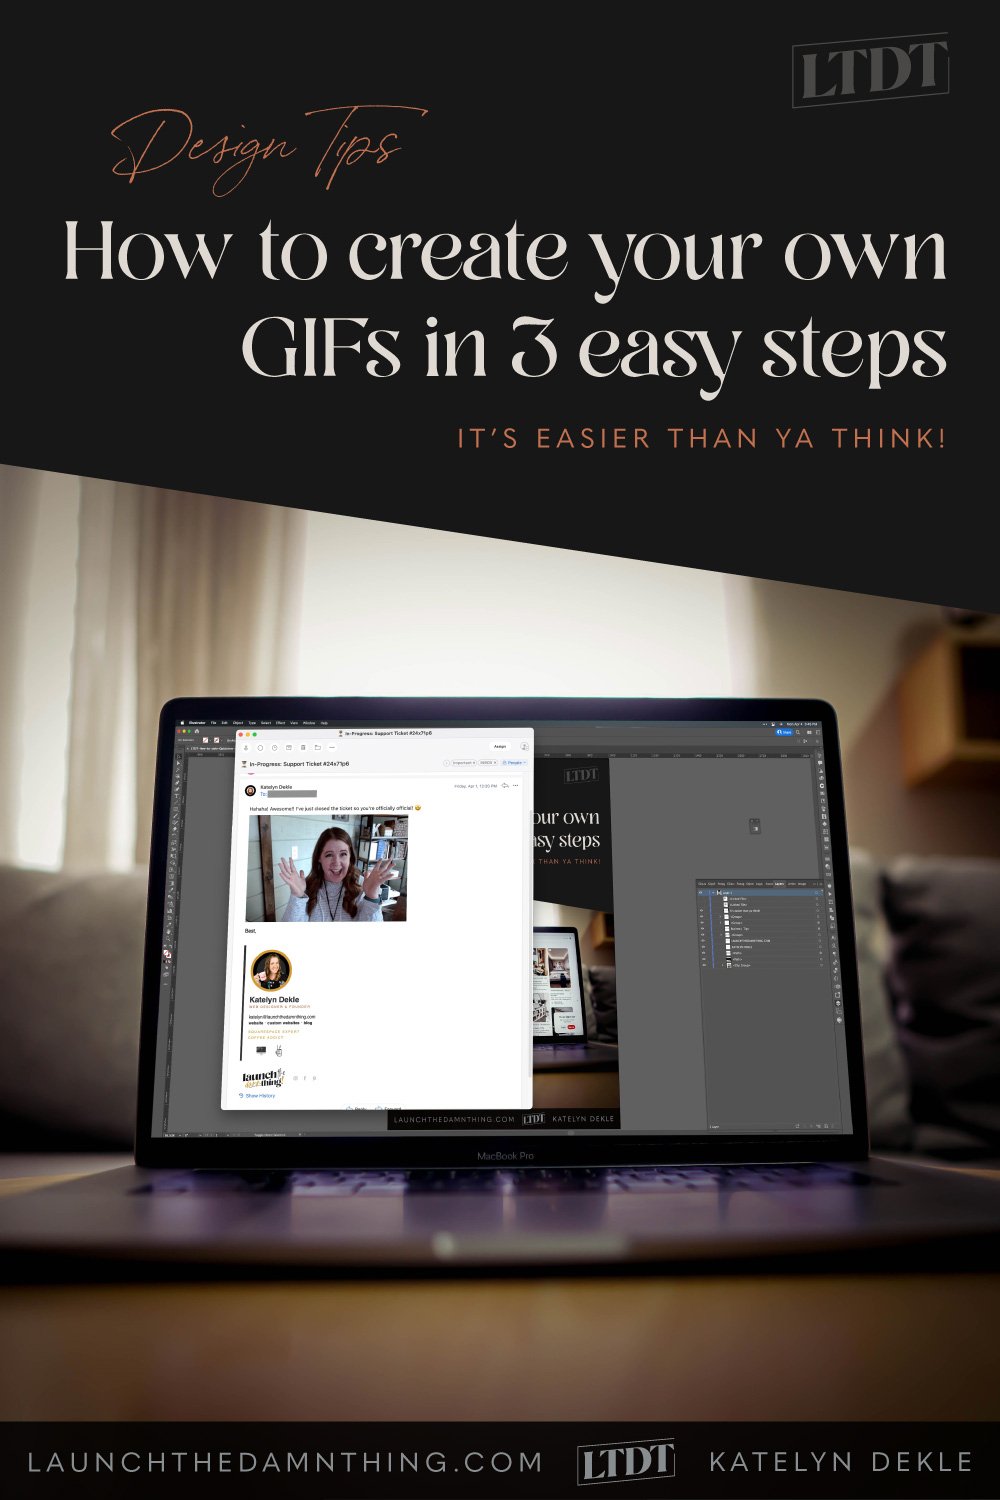
How to create your own custom GIFs in 3 easy steps
Table of Contents Show
📌 Pin it!
One thing I hate about email (and the reason why I rely on punctuation and emojis so frequently) is that the tone of what you’re saying does NOT come across well to the recipient.
I don’t know about you, but I’ve definitely sent emails that the client read as me being frustrated or short, where I’d just been typing out a quick response & was in no way frustrated.
I’ve also sent REAL emails trying to politely show my frustration on purpose, where my point didn’t necessarily come across, nor did the tone of my frustration...
One of the best modern ways to show the emotion behind our words –and bypass any unnecessary drama– is to use a GIF!
(Or emojis and/or unnecessary extra punctuation, because let's face it, regular periods just don't always cut it. RIGHT?! 😂)
A really good GIF can easily personalize & humanize the text that goes with it, in emails, on social media, blogs, or pretty much anything on the interwebs.
It’s not just a millennial thing (🙋🏼♀️ guilty as charged), as much as it’s a necessity for people who do a lot of non-face-to-face communicating.
If you want to take it one step further and create your own GIFs instead of tracking down the perfect one for each situation, –did you know you can easily make your own without needing special software?
Let’s walk through it together!
Create a custom GIF in 3 simple steps
Step ❶ - Record your action
Use your phone
Set up your phone on a tripod and record enough to capture a good 1-3 second video of you performing the action, whatever it is.
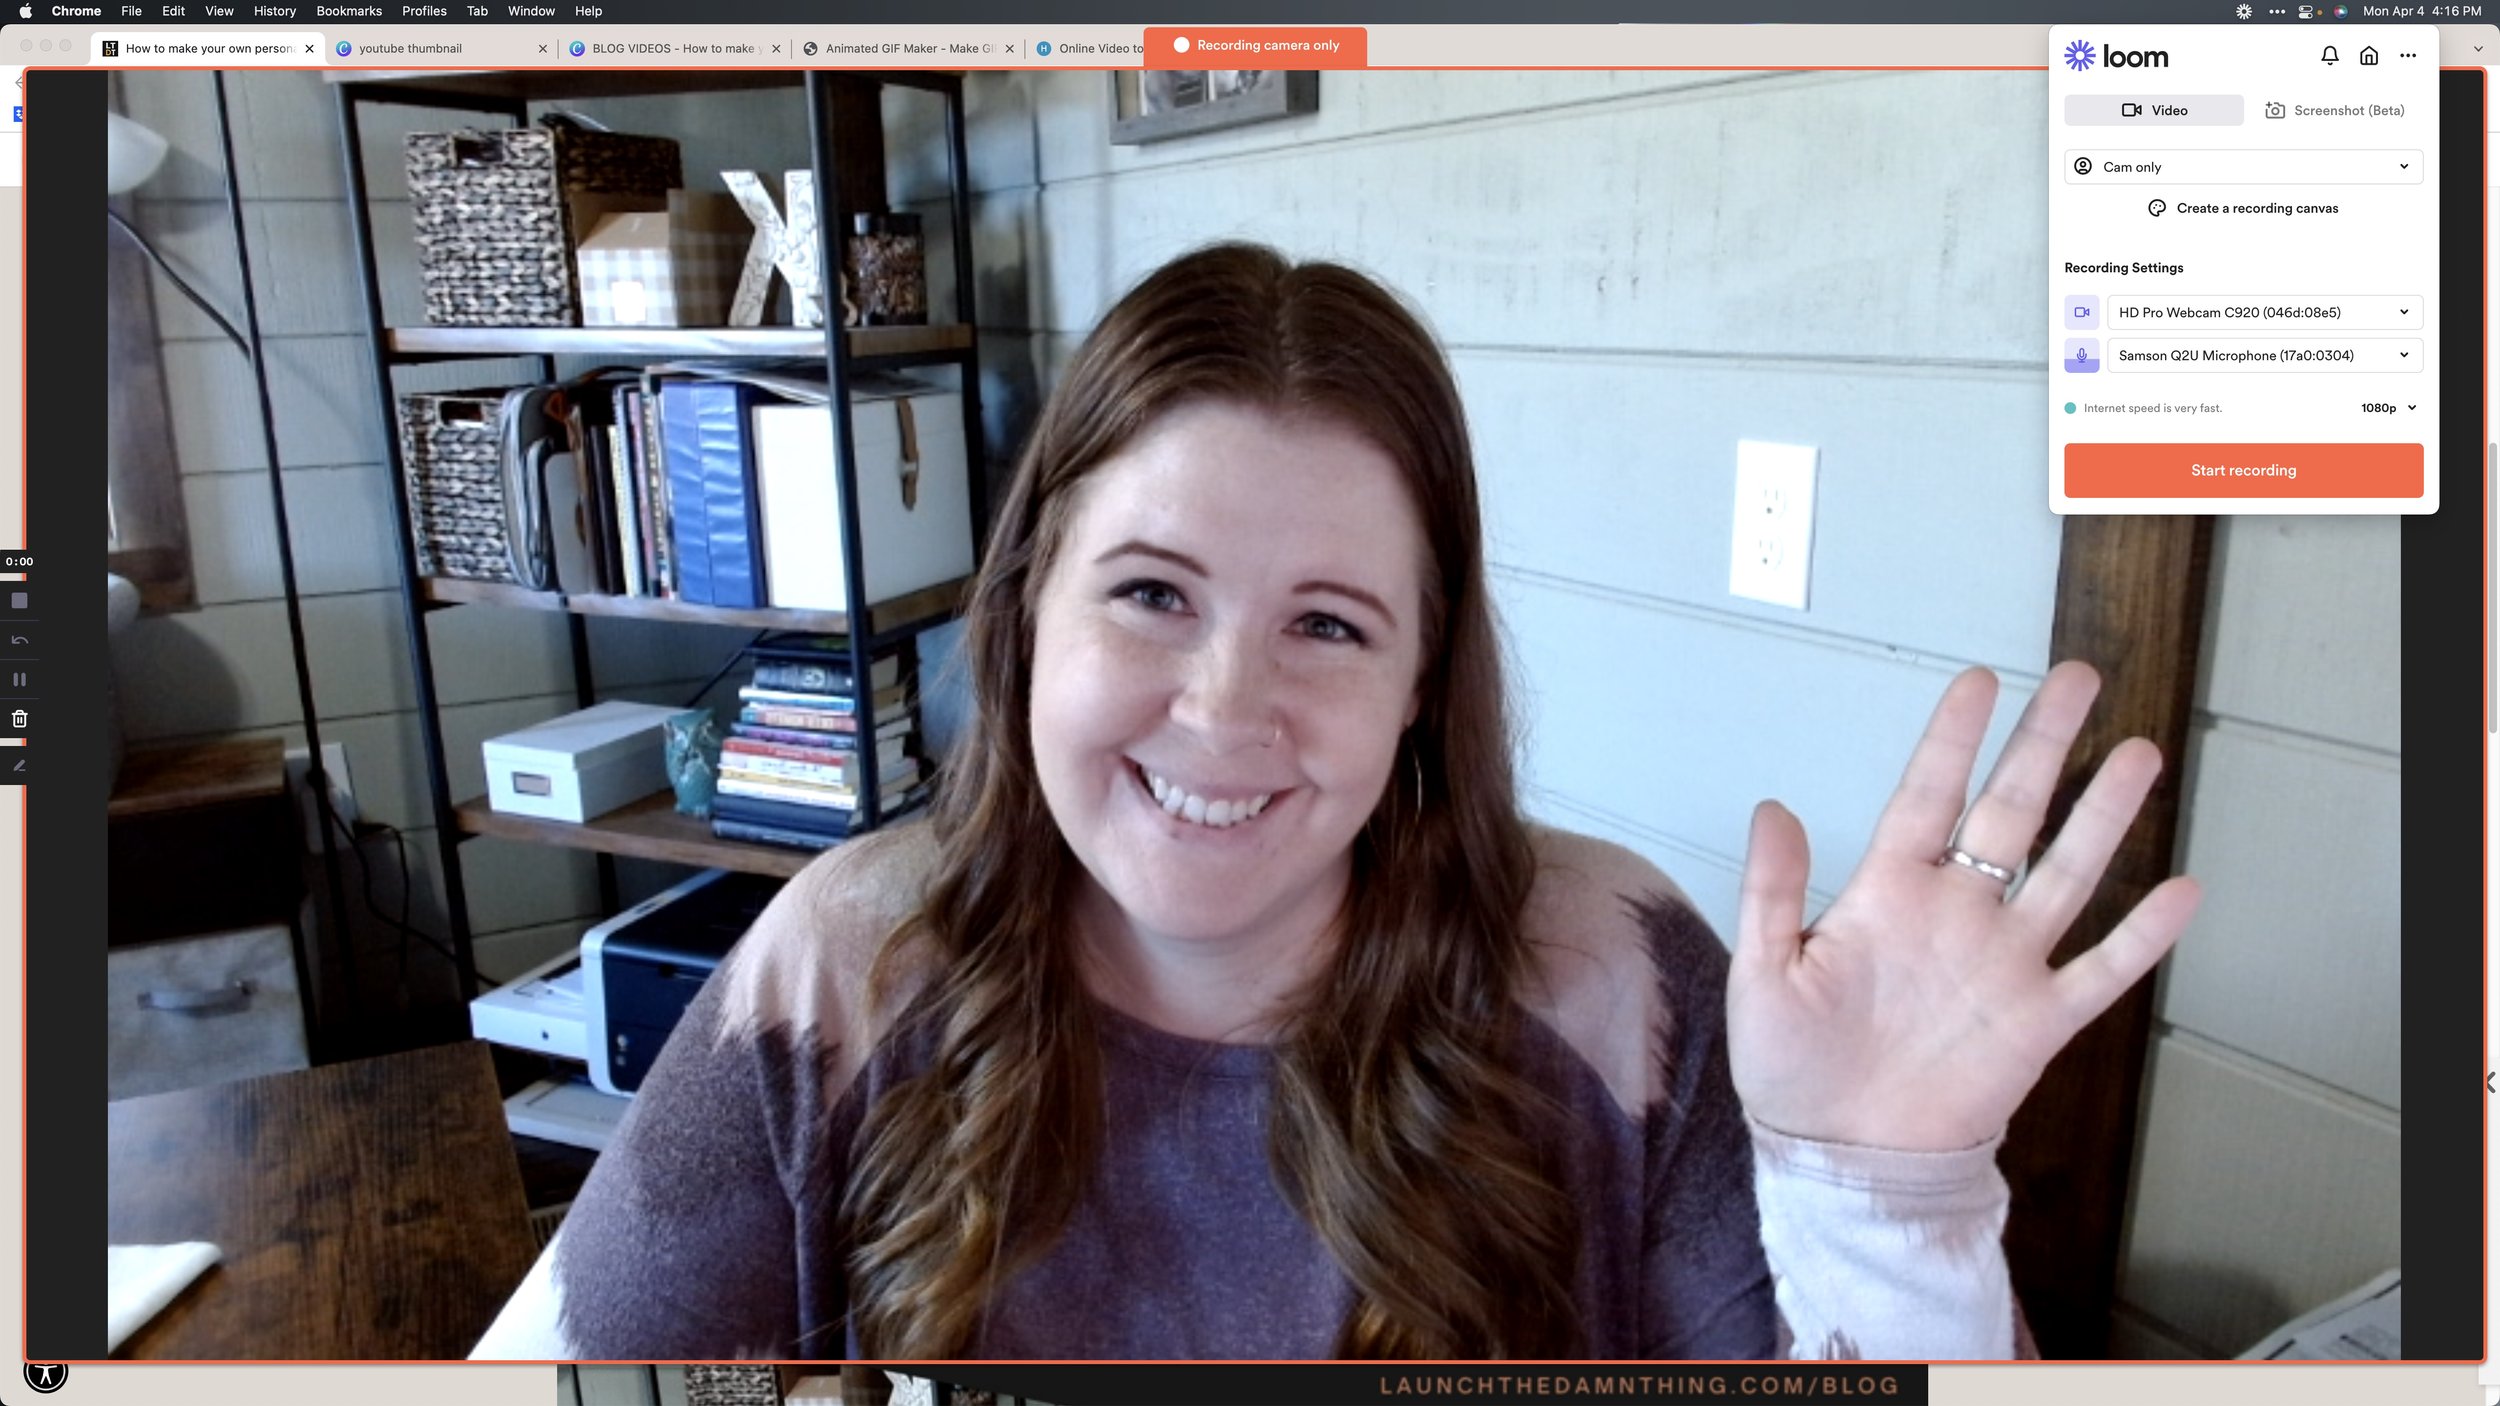
Or use your computer’s webcam
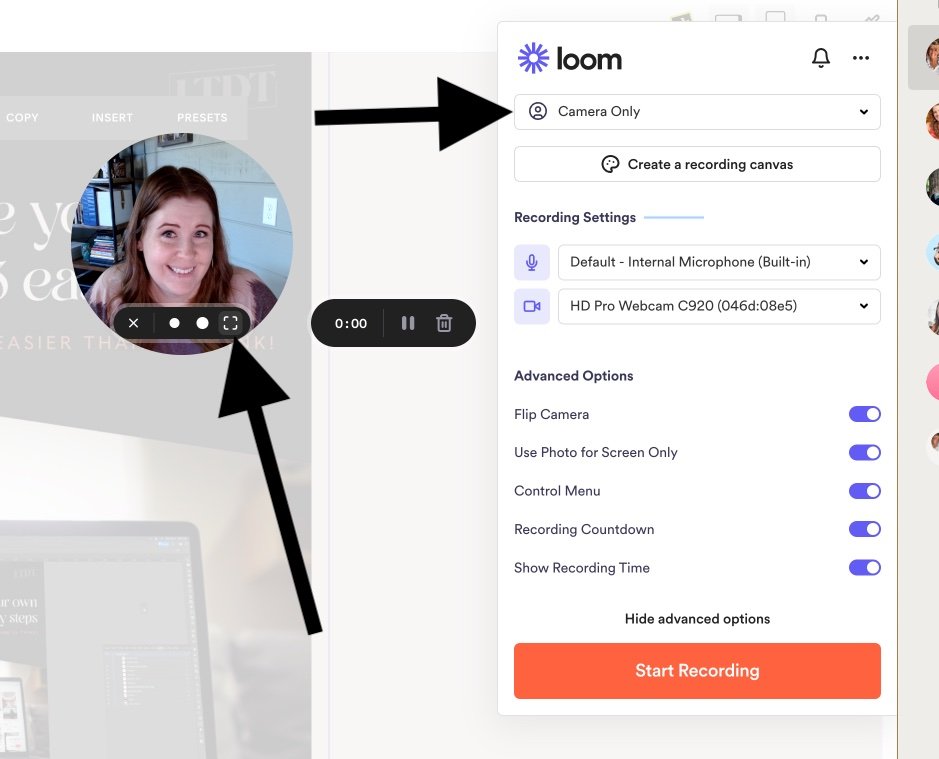
Open an app like Quicktime, or PhotoBooth (on a Mac) and create a new movie. You can even use the Loom desktop app if you choose Camera-only and make your video window full screen, as pictured below:
Don’t worry about recording sound, because GIF file formats don’t allow sound and when we convert the video it’ll disappear!
Step ❷ - Trim the video
If you used something like Quicktime to record your video, you can edit the video by going to Edit → Trim and then using the yellow sliders to click & drag, to trim off the parts of the video you don’t want.
If you used PhotoBooth (on a Mac), right click on the video and export. Then open the exported video file in a video editor like Quicktime to trim it.
If you used Loom, you can trim the video in their editor, wait for those changes to sync/save and then download the video file by clicking the ••• in the top right of the video page to access that menu, then select Download. (pictured below)
Step ❸ - Convert to a GIF
Now open your browser and go to https://gifmaker.me/ (used in the tutorial steps & video below, but no longer works so I use this one instead: https://ezgif.com/video-to-gif now).
Click the black button that says Video to Gif
It will open a new window where you can upload your newly edited 1-3 second video clip. Once that uploads, you have a few options for making the file size smaller:
leave the start/end times alone, since this clip is so short we don’t need to mess with that
Adjust the image width; this is in pixels; most gifs are smaller than 600pixels wide. If you aren’t sure where to start, leave it at 600 and adjust again later.
leave the image height alone; it will auto-adjust based on the width you’ve set
Frames per second - I tend to start it with either 10(up to 60 seconds) or 15(up to 40 seconds)
Now click the “Convert Now” button and give it a few seconds.
It will tell you when it’s successfully converted and when you can download or view it.
View will open the GIF in a new tab so you can preview it without downloading it.
Download will download the GIF to your computer. When you’ve downloaded it, check the file size & make sure it’s as close to 1MB as possible; the smaller the better, especially if you intend to use these in emails.
If the file size is too large, go back to the browser and change the width to 500px, take the frames per second down and convert again. You don’t have to upload the video & start the process over, unless you close the tab.
Once you have the size & quality that you want, rename the file and save it somewhere you’ll be able to find it later!
