How to install a free support chat on Squarespace
Table of Contents Show

📌 Pin it!
You know the little chat icons you see in the bottom right-hand corner of web apps like MailerLite, Dubsado, and so many others?
Have you ever wished that you could have something like that too, but can't afford the expense or just don't want to pay for it yet?
There are actually a few ways to get something like that on your website for FREE, and I’m spilling the secrets here.
METHOD #1
How to install Drift chat on your site
This is what I’m using on my Template Shop home page and all the individual template pages, click that link to see it in action.
STEP 1: Create your drift account & customize it
STEP 2: Go to Settings, then Chat Widget, Install & grab the embed code
STEP 3: Go back to Squarespace, and…
OPTION A: Install the code for site-wide access
STEP 4:A Go to Settings
STEP 5:A Go to Advanced
STEP 6:A Click “Code Injection”
STEP 7:A Paste the code you copied from step 2 in the Header area. This embeds the chat bot on EVERY page of your site.
OPTION B: Install the code for installation on just one-page or select pages
STEP 4:B Go to the Pages menu
STEP 5:B Choose the page you want the chat bot to show up on &
STEP 6:B Click the ••• (next to the name of the page in your Pages meu list) to access that page’s settings
STEP 7:B Click Advanced in the left-hand menu of the settings popup
STEP 8:B Paste the code you copied from step 2 in the Header Injection area. This embeds the chat bot ONLY on this page of your site.
(Repeat for every page you want the chat bot to show up on.)
The basics are free & they even have a separate mobile app so you will never miss an important support request from potential buyers. If you need further help with set up you can read their tutorial here and their support team is excellent.
METHOD #2
How to install Facebook Messenger on your site
First things first, make sure you're logged into your Squarespace website and your business Facebook page (I can’t say whether this works or not using a personal FB page, but I’d imagine not).
PLEASE NOTE:
THE FACEBOOK MESSENGER PLUGIN HAS BEEN FINICKY FOR THE LAST SEVERAL YEARS & DOESN’T ALWAYS WORK. IF IT DOESN’T WORK FOR YOU, TRY ANOTHER METHOD (DRIFT WORKS GREAT!)
Go to your Facebook business page
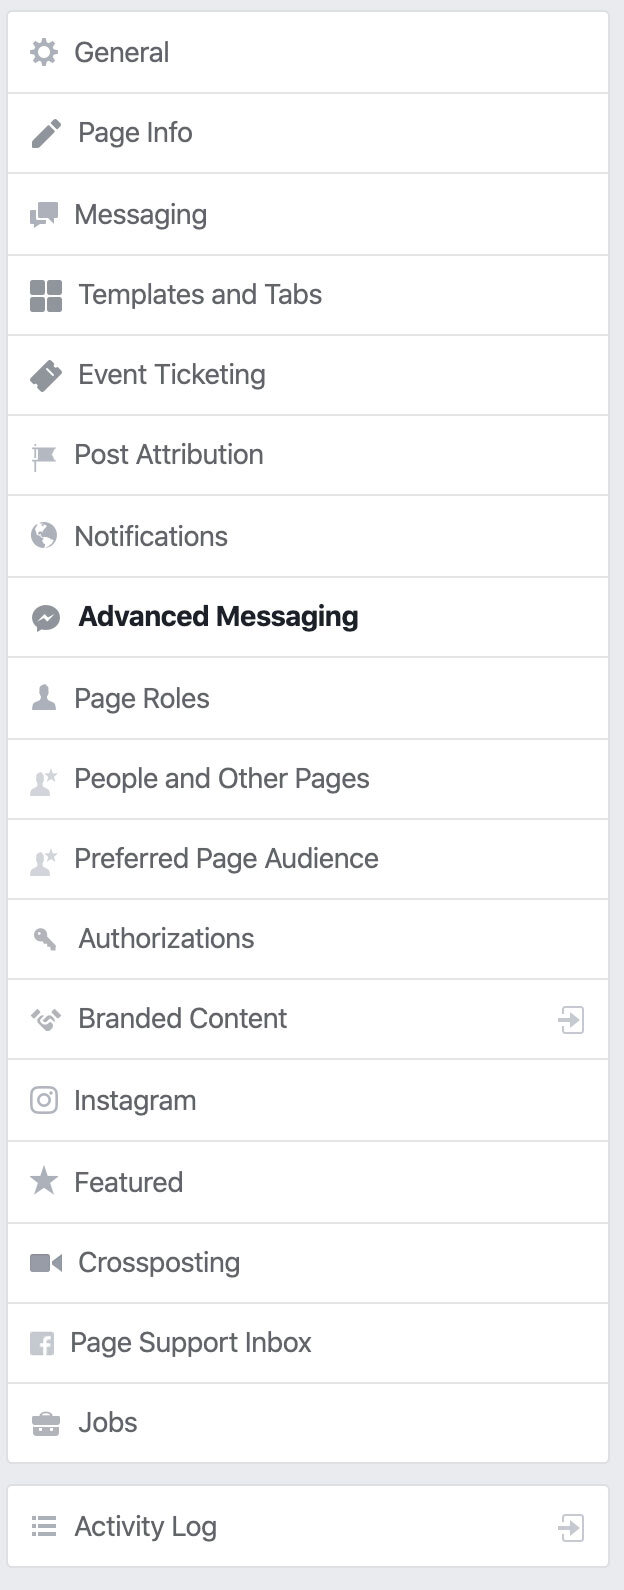
STEP 1: Click on Settings in the top right.
STEP 2: Click on Advanced Messaging, from the menu on the left.
STEP 3: Scroll down to the area that says "Whitelisted Domains," which will be in the general settings section of that menu area.
Don't freak out if you don't know what "Whitelisted Domains" means! Facebook's description is lacking, but basically, this is a list of domains you own and where want to use the plug-in. In order for Facebook to allow the plug-in to be installed, you have to tell them where you want to install it.
For example, I own several domains, including: www.launchthedamnthing.com & www.katelyndekle.com.
I’d want Facebook to allow me to show the plugin for both, so I enter both in this area.
They do have to be secure domains, so that means in order for this to work, your prefix has to start with "httpS://" (that 'S' is the important part there).
If you don't have a secured domain, then it won't work. (you can't just add the 's' and call it a day; sorry!)
STEP 4: Go back to the messaging section in the main settings menu
STEP 5: Click the setup button for the messenger chat plugin
Scroll back to the area to set up the messenger chat plugin. Click setup.
A popup window will appear that looks like this (below) that will walk you through the customizations you want to make.
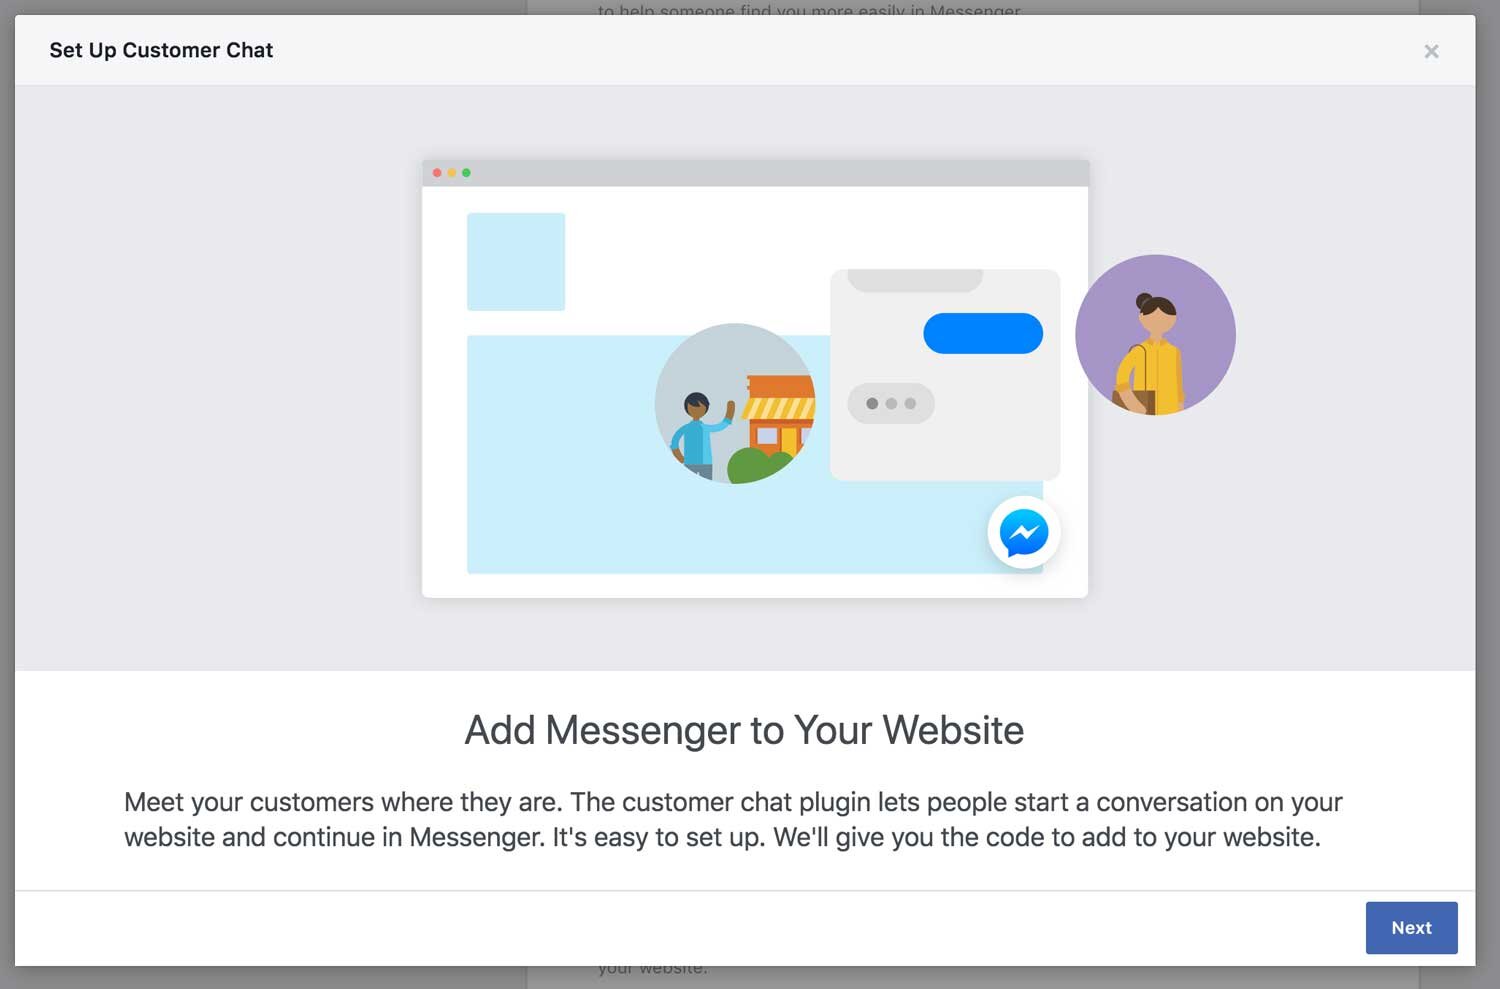
Customization step 1
Click next
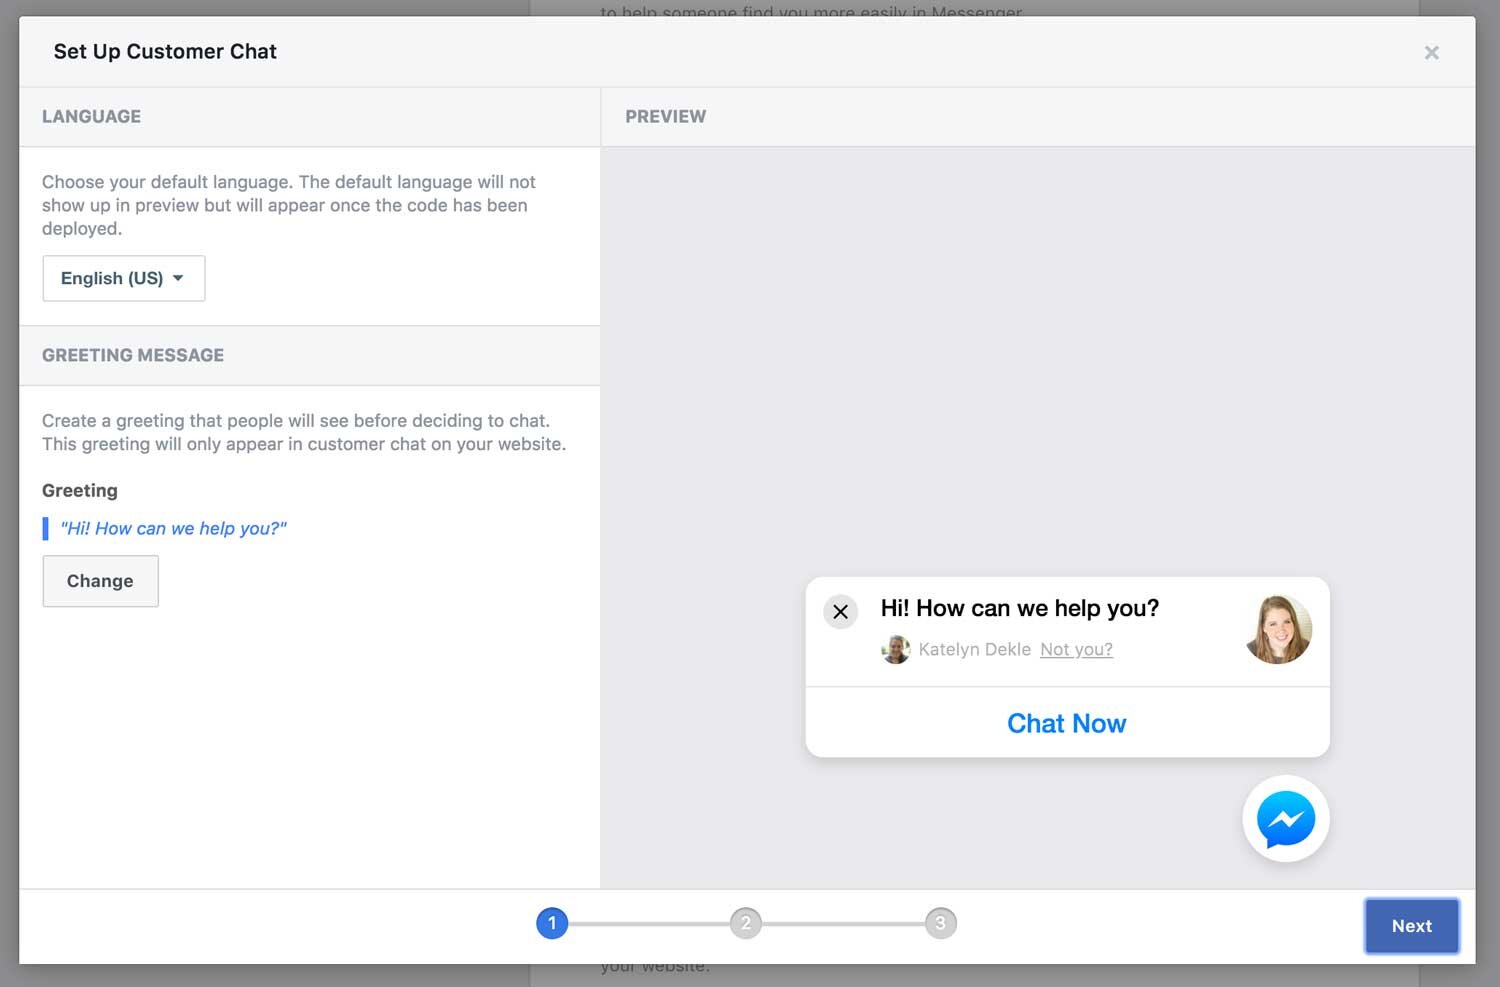
Customization step 2
Select your preferred language
Click "change" to edit your greeting (if you want)
Click next
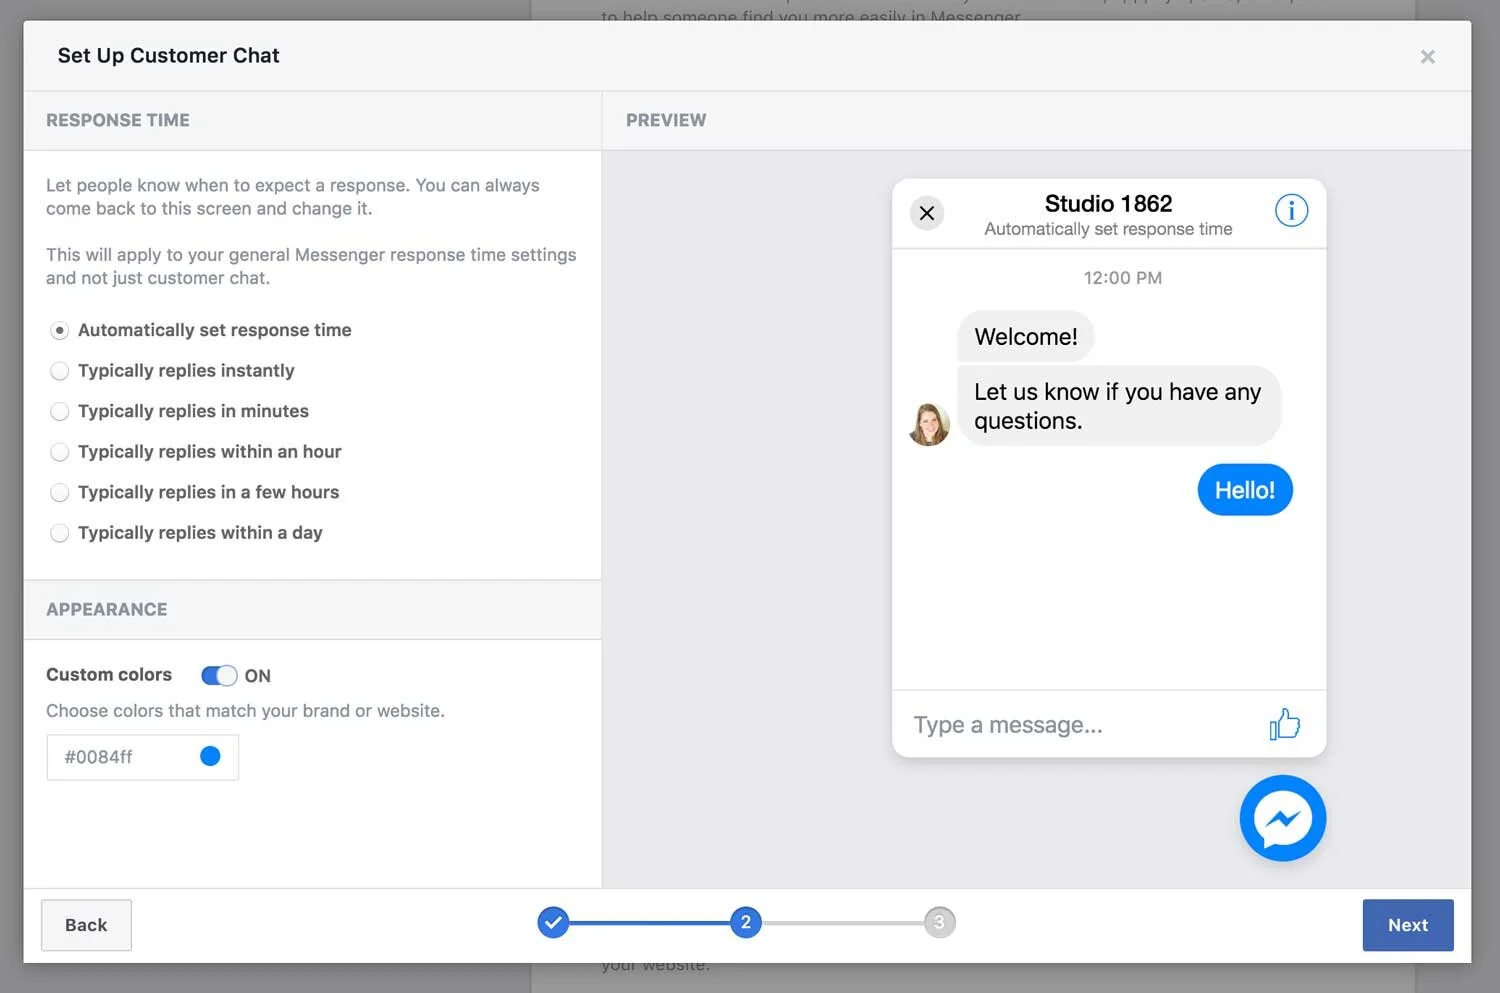
Customization step 3
Select the response time option that fits you best
Under appearance, click the slider to change it to "on" (If you don't want to use the default color)
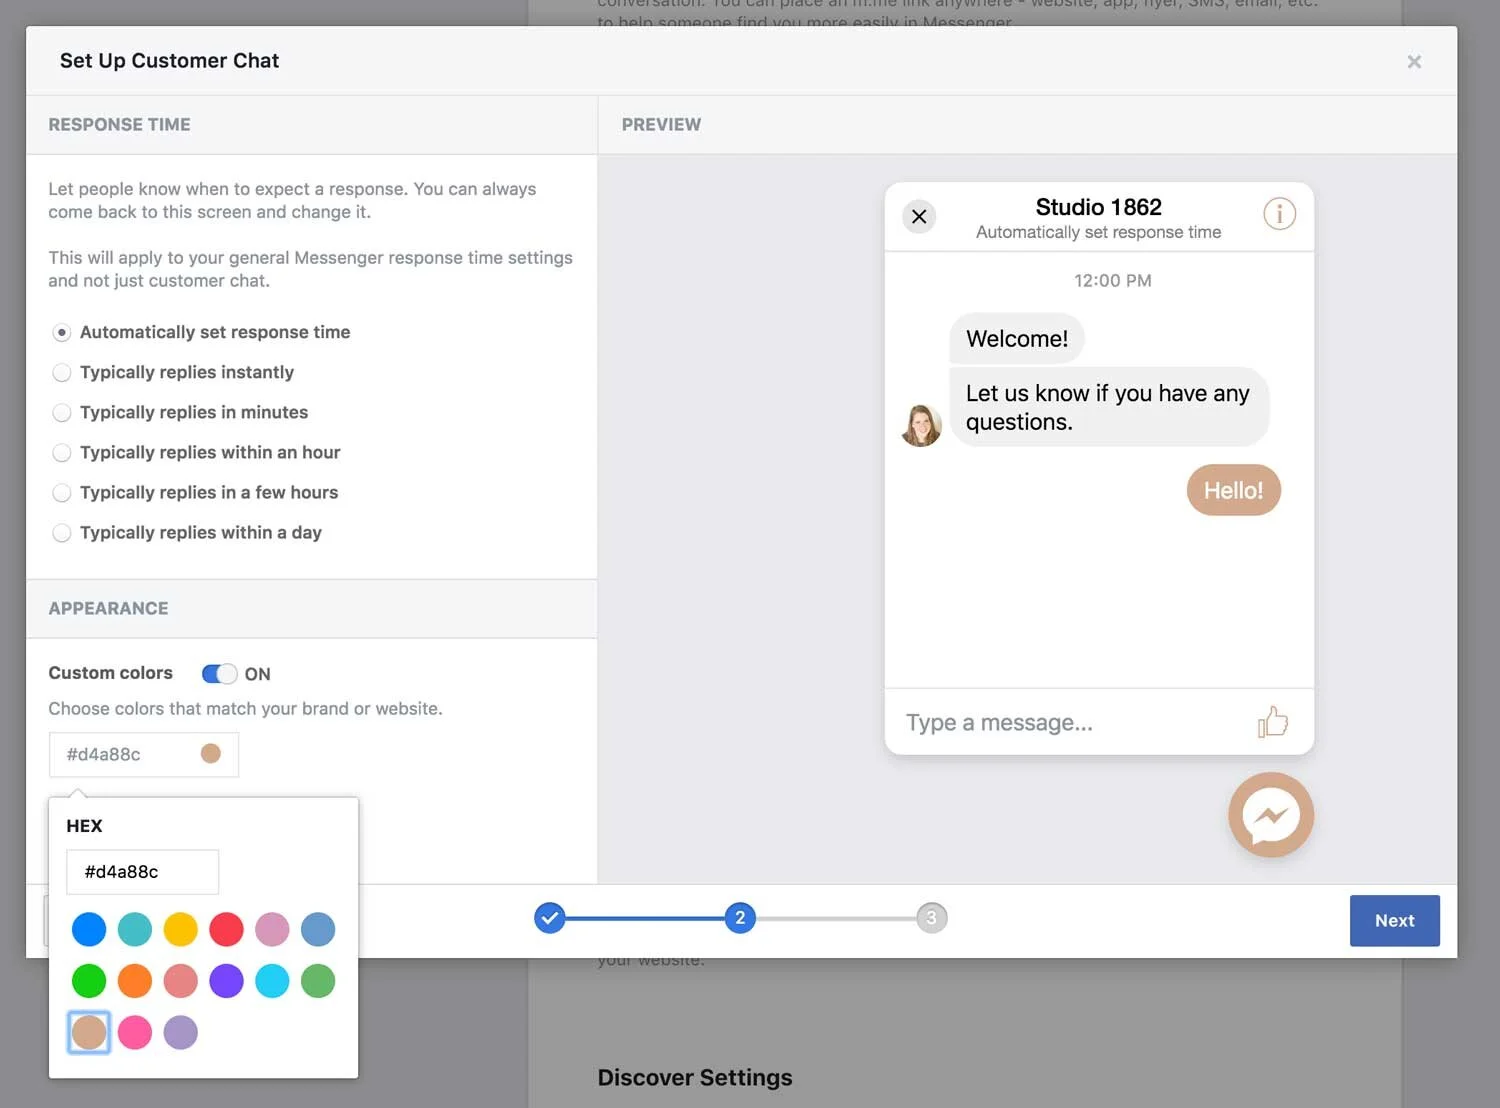
Customization step 4
Paste in the custom hex color code to use your brand color
Or choose one of the color options provided
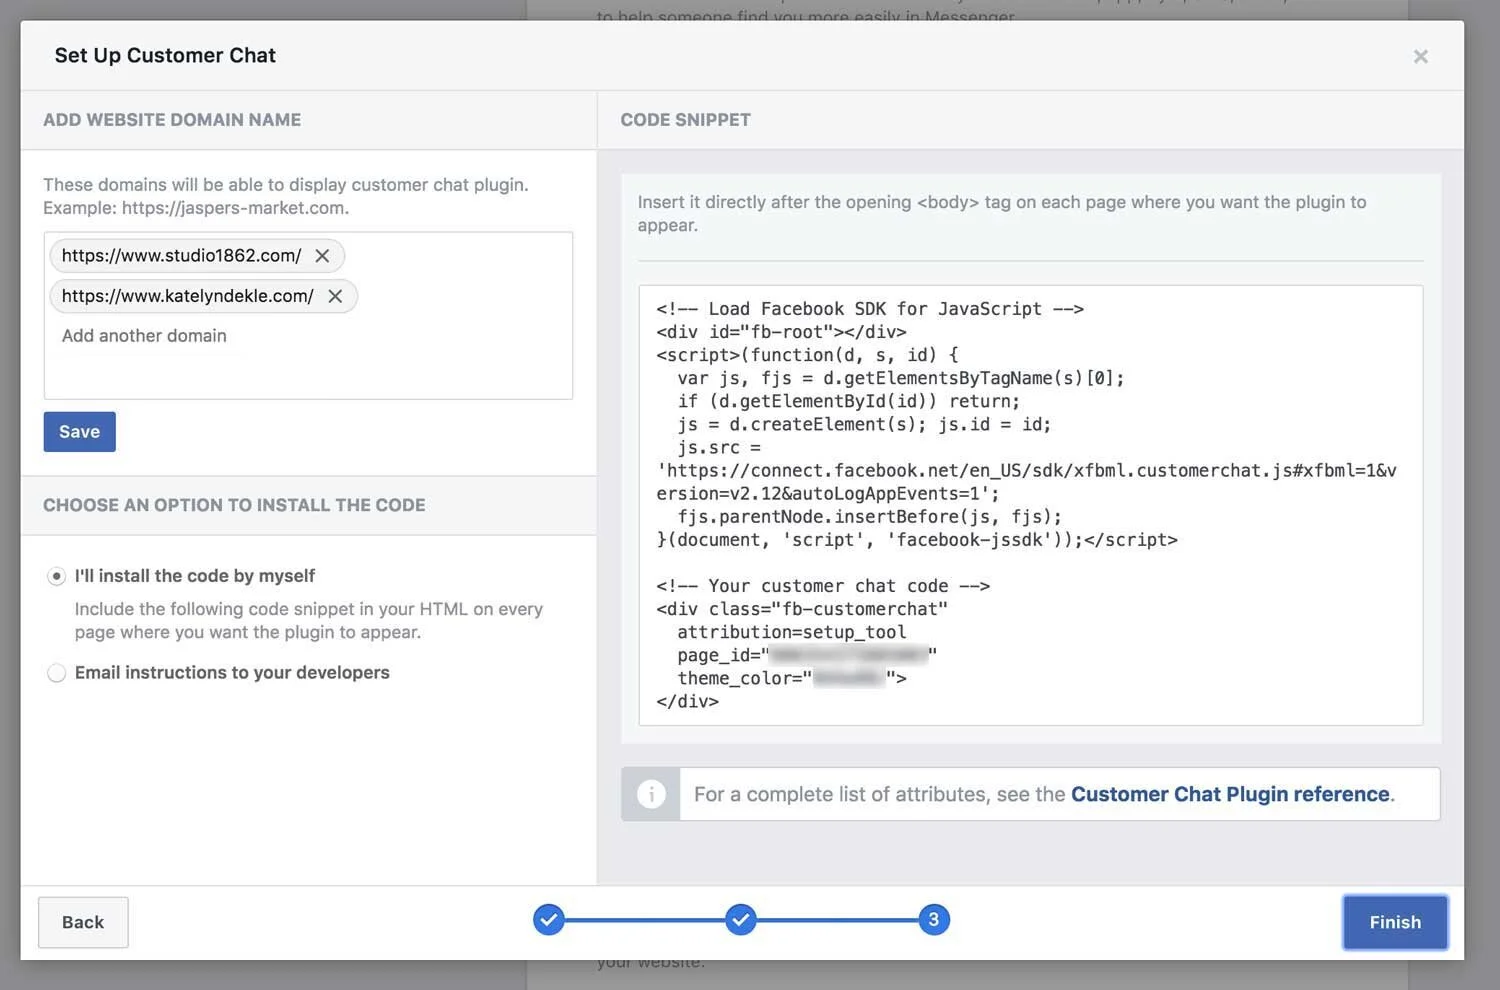
Customization step 5
Double check the domains listed
Click save
Keep "i'll install the code by myself" option selected
Copy the code on the right-hand side of the window
Don't click finish quite yet!
Go to your Squarespace page
Now that the code has been copied to your computer's clipboard:
STEP 6: Go back to your Squarespace website tab in your browser
OPTION A: Do this if you want to use the plugin on all pages
STEP 7:A Click on settings in the squarespace menu within your account
STEP 8:A Click on advanced
STEP 9:A Click on code injection
STEP 10:A Click inside the text box labeled "header"
STEP 11:A Paste the code in that header section, then click save
OPTION B: Do this if you only want to use the plugin on a few specific pages
STEP 7:B Click on pages in the squarespace menu within your account
STEP 8:B Click on the settings icon for a specific page where you want the plugin to appear
STEP 9:B On that page's settings popup, click the advanced tab
STEP 10:B Under "page header code injection," click inside the text box labeled "header"
STEP 11:B Paste the code in that header section, then click save
(repeat the steps for option b on each additional page where you want the plugin to appear.)
Go back to your Facebook settings
STEP 12: Click finish on that setup popup window.
DONE!
See? I told you that was simple! Your new plugin should appear on the bottom right-hand corner of your website on the page(s) you installed it.
If it doesn’t show up, then your template likely requires something slightly different, or you don’t have a secured domain. You can Try this free tutorial by Squarestudio instead or try method #1 above, instead.
Bonus tip
A basic example of what manychat can do.
If you're tech-savvy, you can setup messenger automations with apps like Manychat (which has a basic free version).
This would allow you to setup work-flows or automation sequences for people who use messenger to contact you about your business.
What do i mean by all that?
You can provide a menu of your services with links to your website, where that information is located.
You can send a photo of yourself and say hi, so they know you're a real human being.
You can create an automated sequence to go through if they choose certain menu options.
You can provide links to faqs, and so much more.
That's all folks!
If you're worried about getting a ton of irrelevant messages, remember that you can assign it to specific pages (like your services & contact pages) if you want to limit the intake to only the more serious inquiries.