

How to customize fonts on your Dubsado forms
Table of Contents Show

📌 Pin it!
It’s no secret around here that I love Dubsado. Having a CRM like that as a solopreneur has been a GAME-CHANGER in my business.
I don’t have to design proposals in Illustrator, export or save & attach a view-only file –or open the PDF in Acrobat & save form fields to it so my client can fill it out. (Which of course would mean that I'd have to save the form somewhere or copy & paste the info elsewhere potentially, depending on the form.)
I don’t have to log into HelloSign (or the like) and create a contract that’s e-signable to send my client.
I don’t have to create an actual invoice in PayPal, Wave, Quickbooks, etc.
I don’t have tediously copy down lead inquiry information from a Google Sheet or Squarespace form email to copy over to the Proposal, the contract, and the invoice in 3 different places.
Dubsado handles ALL of this for me, and I couldn’t run my business the way I do, without it. Not without a team member to help me keep it all straight, and we’d lose hours of time recreating all these steps each time in separate places.
...but those fonts tho 😬
All of that said, one thing that’s bugged me since I’ve been using Dubsado these last few years, is that their font choices (while seemingly more robust than other platforms like it) were lacking the customization I wanted in order for the forms to match my brand perfectly.
My fonts are custom on my website, and I really wanted them to be custom on my forms too.
Luckily, I finally realized that Dubsado code blocks can house the same type of custom font CSS that I’ve used on my website! 🤯
(tbh, that’s kind of a “duh” moment for me… 😂)
But that still leaves the pesky signature formatting… right?
Sooo girly. Let’s change that up too!
How to add custom fonts to Dubsado forms
For Questionnaires, Proposals & Lead Captures, you can just add a code block; I add mine to the very top above my logo.
For Contracts & Sub-Agreements, you have to slide (drag-and-drop) the form over to one of the other form types first (essentially changing it from a contract to a Proposal, Questionnaire, etc.), to add the code block there, then you can add the code, save, and slide it back over to its appropriate contract or sub-agreement column. It will warn you that moving it out of that column will get rid of the signature fields, –that’s okay. You can add them back when the form is back in its original column.
Inside that code block you want to wrap your CSS in an HTML style tag like this:
<style>
  CSS goes here
</style>
NOTE:
If you’re trying this in Dubsado’s new form builder, you can just put the CSS inside the CSS area within the form styles section; then you won’t need the style tags for <style> or </style>.
First, you can grab your CSS custom code from your website if you followed along with this tutorial on how to add custom fonts to your Squarespace site, to make this process REALLY fast.
If you haven’t read that one yet, be sure & check it out, because it has the full walk-through there which may help for this process too.
Now we have to make sure you have a URL for your font. That means you need to store it online somewhere where there’s a URL to get to it, essentially. Mine are stored on my website within my Custom CSS area’s Managed Custom Files.
You can add yours there too, by simply going to Design → Custom CSS → click Manage Custom Files at the bottom of the CSS typing area. Click to open the upload chooser window, find the font file on your computer from there, then click Open to upload the font file to your website.
Next, paste in this code in your Custom CSS:
<style>
  // Header 1 - custom font //
  @font-face {
    font-family: 'Exact Font Name';
    src: url(PASTE URL OF FONT FILE);
  }
  h1 {
    font-family: 'Exact Font Name' !important;
  }
</style>
Change the “Header 1” and “h1” to be the specific Paragraph style you want to change in Dubsado (Header 1 = h1, Header 2 = h2, Header 3 = h3, Header 4 = h4).
Select & delete the section that says “PASTE URL OF FONT FILE” and once that text is gone, leave your cursor there. Go back to Manage Custom Files & click on the file you just uploaded. The URL for where that file is “kept” on Squarespace’s servers or whatever, will automatically paste where your cursor was.
Copy & paste (from the end of that file name) the exact name of the font file, with whatever capitalizations, dashes, no spaces, ––whatever, and then paste that into both sections that say: “font-family: ‘Exact Font Name’;
Now it should look something like this:
<style>

  // Header 2 - custom font //
  @font-face {
    font-family: 'Exact Font Name';
    src: url(https://static1.squarespace.com/fake-url/Lato-Heavy.ttf);
  }

  h2 {
    font-family: 'Lato-Heavy' !important;
  }

</style>
I always paste the URL of the uploaded (installed) font file FIRST, so I can copy-and-paste the EXACT name of the font from the end of that url, –minus the font file type (the .ttf or .otf file extension). If you type the name of the font wrong, the code won’t work.
Congrats! You’ve just uploaded a customized font for your H1 / Header 1!
Repeat for each style you want to change, which could look something like this
<style>
@font-face {
  font-family: 'Exact-Font-Name-1';
  src: url(https://static1.squarespace.com/fake-url/Exact-Font-Name-1.ttf);
}

@font-face {
  font-family: 'Exact-Font-Name-2';
  src: url(https://static1.squarespace.com/fake-url/Exact-Font-Name-2.ttf);
}

@font-face {
  font-family: 'Exact-Font-Name-3';
  src: url(https://static1.squarespace.com/fake-url/Exact-Font-Name-3.ttf);
}

@font-face {
  font-family: 'Exact-Font-Name-4';
  src: url(https://static1.squarespace.com/fake-url/Exact-Font-Name-4.ttf);
}
</style>

<style>
  /* STYLE FONTS */
  h1 {
    font-family: 'Exact-Font-Name-1' !important;
     }

  h2 {
    font-family: 'Exact-Font-Name-2' !important;
  }

  h3 {
    font-family: 'Exact-Font-Name-3' !important;
  }

  h4 {
    font-family: 'Exact-Font-Name-4' !important;
  }
  /* END STYLE FONTS */
</style>How to change the signature font in Dubsado agreements
PROCEED WITH CAUTION: I’M NOT AN ATTORNEY & THIS IS NOT LEGAL ADVICE. I CANNOT SAY & HAVE NO KNOWLEDGE OF WHETHER OR NOT THIS ADDED CODE AFFECTS THE VALIDITY OF THE SIGNATURES. I’VE FOUND NO EVIDENCE THAT IT DOES OR DOESN’T, MYSELF, BUT AS I’M NOT AN EXPERT I CAN’T SAY WITH ANY CERTAINTY.
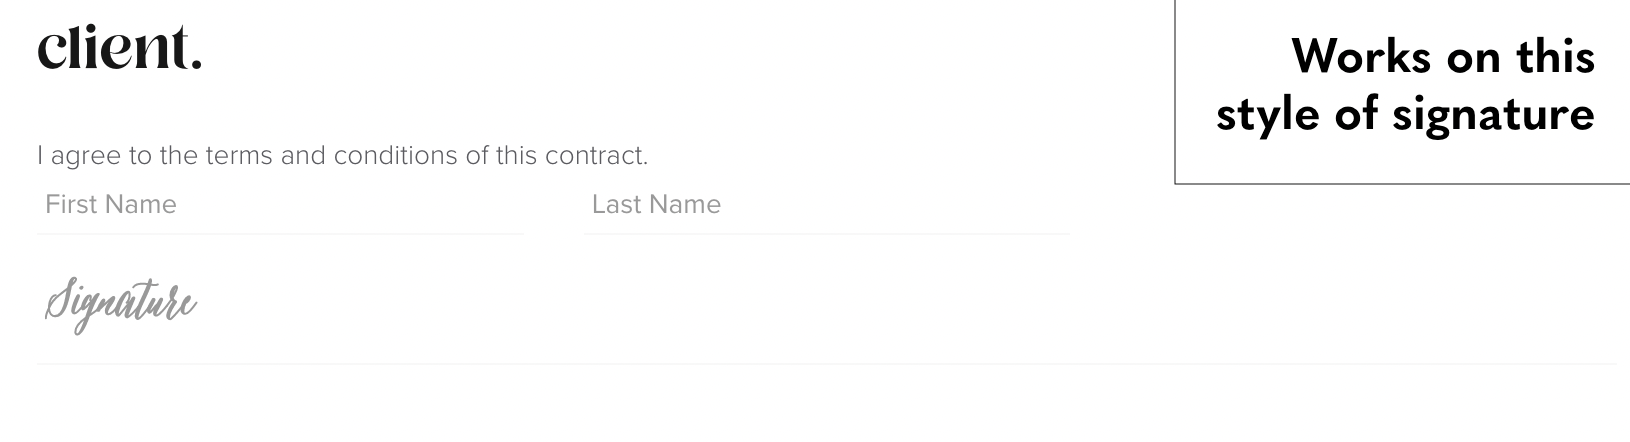
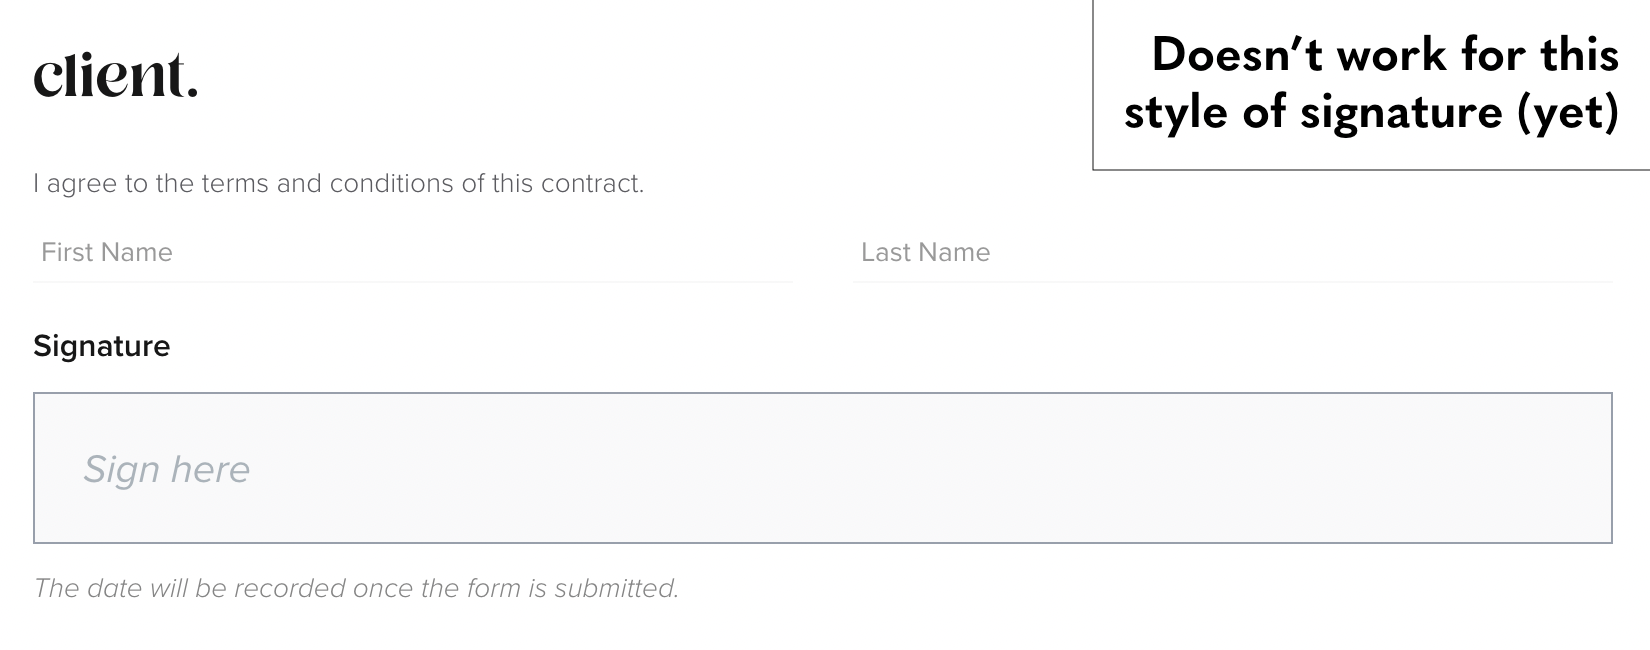
That cautionary tale said, here’s how to change the signature font if you want to.
Note that it only works on the old style of signatures at this time.
If you want your signature font to be the same as one of the fonts you’ve just added to your form in the above section, under that same code, now add this to the end:
  /* CHANGE CONTRACT SIGNATURE CSS */
  input[type='text'].underline.signature {
    color: #000000;
    font-size: 26px;
    font-family: 'Exact-Font-Name-4', script;
    dub-cursive, cursive, sans-serif !important;
  }
  /* END CHANGE CONTRACT SIGNATURE CSS */
⚠️ Remember: to add the signature fields before you save & close/preview, since moving the form from the contract or sub-agreement column removed them before!
Now Save & Preview. You’ll be able to see the font you chose in the signature field now, instead of the standard Dubsado cursive.
If you want this signature to be a different font than the ones you’ve already added, you’ll need to install that font on your website too in the Custom Managed Files section, so you have a URL to grab for this code snippet:
@font-face {
  font-family: 'Exact-Font-Name-5';
  src: url(https://static1.squarespace.com/fake-url/Exact-Font-Name-4.ttf);
}

/* CHANGE CONTRACT SIGNATURE CSS */
input[type='text'].underline.signature {
  color: #000000;
  font-size: 26px;
  font-family: 'Exact-Font-Name-5', script;
  dub-cursive: cursive, sans-serif !important;
}
/* END CHANGE CONTRACT SIGNATURE CSS */
Save & Preview to see your beautiful work! 🤩
To add this to other forms, simply copy & paste the code from this form’s code block, then go to the new form and add a code block there, then paste it in. No editing required unless ya want to change up something.
